dude i have absolutely no clue what that means lmao
If you mean the "creative adjustment", then sorry, I wasn't clear. I only meant that you pretty much have to ignore after ~3:50, where they're using a completely different OS (a modification of ChromeOS; not OpenWrt).
If you can build and flash my version of openwrt to a USB stick, then the first 3-4 minutes of that video will help you get it running. At that point, you'll have OpenWrt running...from a USB stick.
If you want a step by step guide, you'll have to wait.
Awesome. Looking forward to testing it!
Wow! Thanks for the effort. I remember reading the earlier posts during EOL of the device and it went from hopeless to now hopeful. So, thanks again! I have a couple of these devices and would really hate to throw them out if there's still a chance to get them working.
Again, thank you.
I've pushed my latest to my aforementioned whirlwind branch. It has subtargets for both ASUS and TP-Link variants. LEDs should work now on all variants. There's some stub support for the speaker/audio, but I don't have it fully working yet.
Next time I get some free time, I'll probably try to clean it up for a proper pull request, so we can at least have something working in snapshot builds, even if it's not perfect.
Testing welcome. Documentation (ToH, Device page) welcome too, so I don't have to write it all.
7 Likes
I was able to follow the instructions to get into developer mode and boot into openwrt on my tp-link on-hub. The radios seems to be working fine. I have it setup and running as a repeater with radio1 acting as a client and radio2 as AP. I'll let it run for a while to check its stability.
Great work so far getting this up and running! It would have been a shame to throw away the great hardware.
This method runs openwrt on the flash drive that's plugged in. Any idea how we could have it boot right into the emmc? It would be great to avoid having to perform all the intermediate steps needed to get into developer mode and then boot.
1 Like
Glad to hear things work for you, @stonics!
By design (docs), there's no way to flash custom software on these devices without first entering Developer Mode, so you definitely at least have to do the "developer switch" step at least once. But after you get the USB stick booting, you can flash the same image to eMMC, so it'll boot right up next time without manual attention.
I haven't written end-to-end instructions for OnHub yet, but the "scp" and "ssh" steps for Google Wifi should work:
You'll substitute 7552991 instead of 7634911 (because of the eMMC size), and use the appropriate file name.
Note that the OnHub has a speaker (unlike Google Wifi), so it also has the traditional "developer mode beep" that Chromebooks have. It's super loud and annoying and slows boot by about 30 seconds, but is otherwise harmless -- it's just there to make it super clear it's not running Google software... You can bypass it by plugging in a USB keyboard (really!) and pressing CTRL-D while the device boots.
And hey, if it all works for you, feel free to start a ToH page for it ![]()
3 Likes
Thanks a million! You have brought us a lovely new year's present
I installed LUCI onto it as well and it now has web GUI. Just would like to check are we still missing one core of the SOC please
Thank you again.
RW

2 Likes
I got it installed successfully in the eMMC by using the instructions for Google Wifi with suggested modifications. Although, I'm unable to resize the partition using resize2fs /dev/loop0
root@OpenWrt:~# resize2fs /dev/loop0
resize2fs 1.46.5 (30-Dec-2021)
resize2fs: Bad magic number in super-block while trying to open /dev/loop0
Couldn't find valid filesystem superblock.
root@OpenWrt:~# lsblk
NAME         MAJ:MIN RM  SIZE RO TYPE MOUNTPOINTS
loop0          7:0    0  3.5G  0 loop /overlay
mtdblock0     31:0    0    8M  0 disk
mmcblk0      179:0    0  3.6G  0 disk
├─mmcblk0p1  179:1    0  128M  0 part
└─mmcblk0p2  179:2    0  3.5G  0 part /rom
mmcblk0boot0 179:16   0    2M  1 disk
mmcblk0boot1 179:32   0    2M  1 disk
This isn't a big deal, because I initially compiled with 1GB of space which is enough for what I need. I could recompile with the exact eMMC size to get around it so I don't need to resize.
I'm still new to this forum and don't yet have write access to the wiki. I can certainly start the ToH page once I do ![]()
1 Like
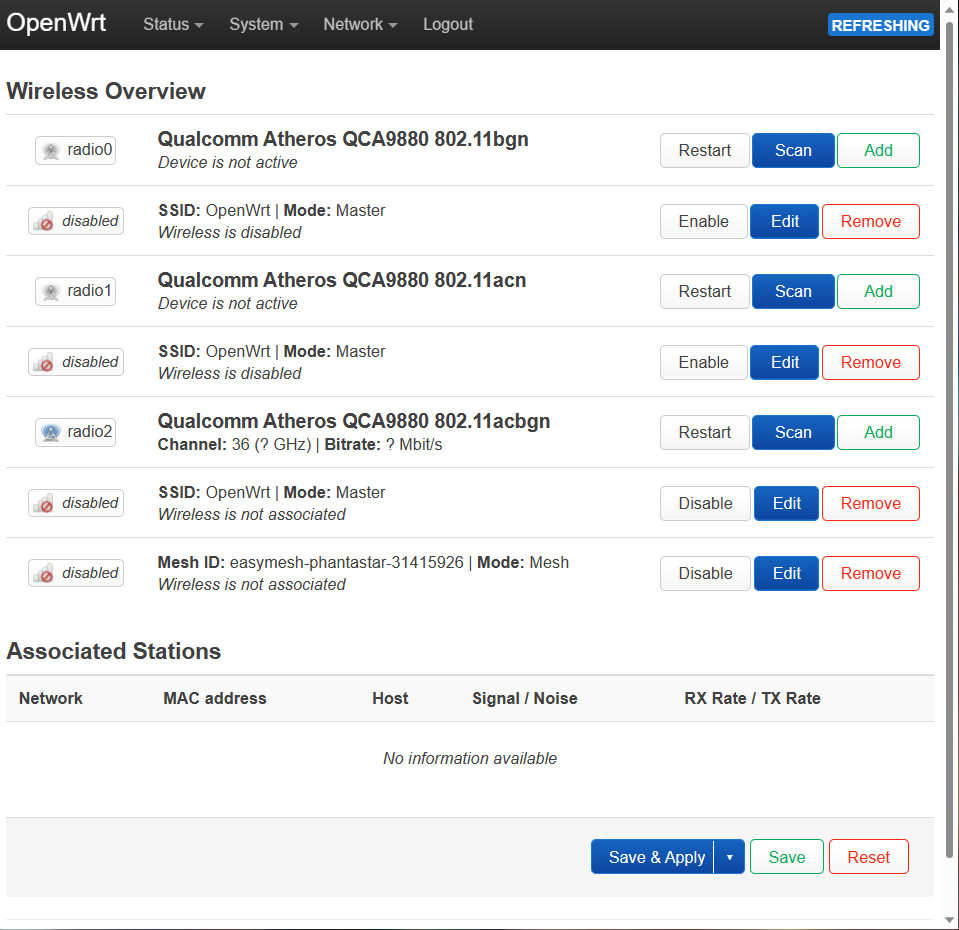
Very good and fluent in my flashing into tplink and asus models. My only problem is I can't establish 802.11s both on tplink and asus one. ![]() I think it could be a important feature for spacious room.
I think it could be a important feature for spacious room.
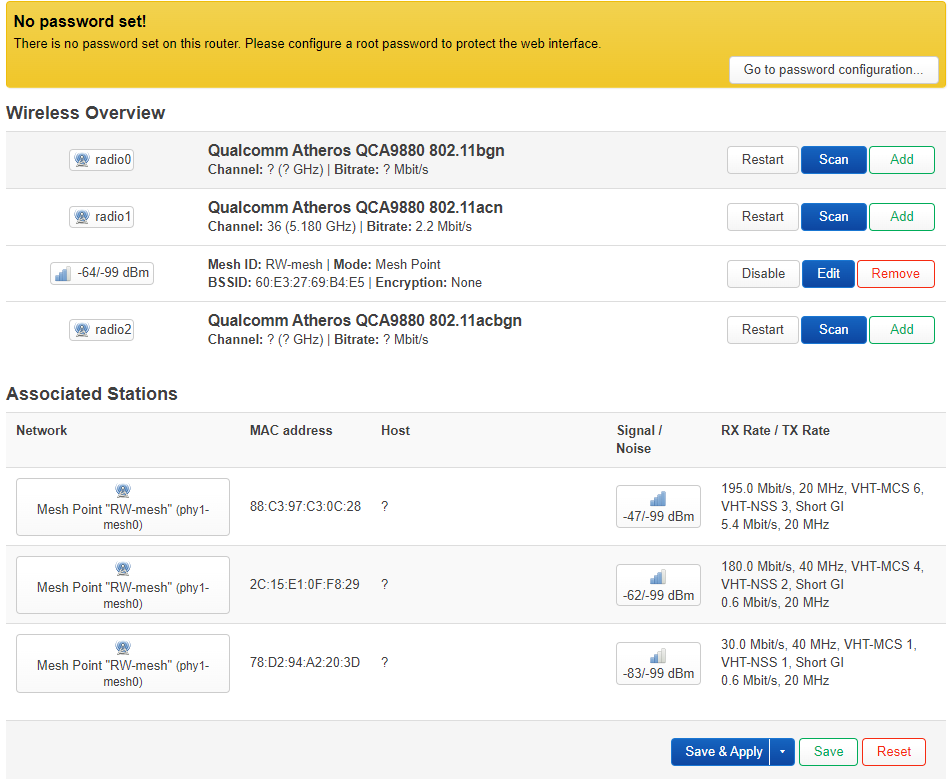
Hi I have got mesh working.
You will need ath10k-firmware-qca988x, rather than ath10k-firmware-qca988x-ct
Try to remove ath10k-firmware-qca988x-ct and install ath10k-firmware-qca988x instead. A reboot will be required
2 Likes
Got it, Thanks a million! ![]()
Does anyone have the base image available for others to play around with and test? I've done software dev before but haven't done anything with OpenWRT prior to this so I'm still learning the specifics around it. I got compilation working in WSL but now working on building the USB stick image.
How's the performance and range in that case? Does that still use the ath10k-ct driver (not firmware)? FWIW, I'm pretty sure the calibration data will not work correctly with the non-ct driver yet, but I'm working on fixing that (see some of the discussion on my patch).
Anyway, I'll play with it myself eventually. I see some notes elsewhere that suggest the CT drivers (or firmware?) don't support mesh well. I expect many people will want these to support mesh though, so I'd like to get that right in the default build.
OTOH, I see that most (all?) openwrt targets use -ct by default, and I'm not really sure why.
Hi Brian
Below are the error message to bring mesh up
Fri Jan  6 12:51:54 2023 kern.warn kernel: [157441.049523] ath10k_pci 0001:01:00.0: pdev param 0 not supported by firmware
Fri Jan  6 12:51:54 2023 kern.warn kernel: [157441.057095] ath10k_pci 0001:01:00.0: must load driver with rawmode=1 to add mesh interfaces
Fri Jan  6 12:51:54 2023 daemon.notice netifd: radio1 (12639): ip: SIOCSIFFLAGS: Invalid argument
Fri Jan  6 12:51:54 2023 daemon.notice netifd: radio1 (12639): Interface 0 setup failed: IFUP_ERROR
Quick googled some people suggested to use CT firmware 10.4 and others suggested to use the original firmware
I haven't got a chance to test the coverage...
1 Like
Guys, reading this thread brings euphoria. ![]() Y'all are like heroes.
Y'all are like heroes.
This is coming from someone who knows nothing about coding/programming. Ha.. I only know how to read guides and install firmware. ![]()
Y'all are amazing! Happy new year.
I've started a toh for the device with what I know. Please help adding sections specifically regarding serial access and anything I've missed: https://openwrt.org/inbox/toh/google/onhub_tp-link_tgr1900
I've also uploaded a compiled image for the TP-LINK variant, if anyone wants to try it out: https://mega.nz/file/KxE0SALb#x1h_6A9Rg7UOaJ0YRcINn8DPk3hRRF_dZhaNR2cBrNE
4 Likes
Thank you for the image. The video earlier says you need to connect a usb keyboard and type ctrl D before putting in the usb flash drive. Is this necessary?
Just followed the summary of steps on the page, used the image, and my spare OnHub is up and running! Thanks for pulling that together into one place and providing an image. Working through migrating all my configuration before I try to swap it in for the one still running the Google firmware, but so far so good.
1 Like