Hi there!
I’m writing this up for everyone who is interested in running LEDE on x86 and is wondering how to do it. In the last few weeks, I have explored this option and build a pc-based wireless router on LEDE.
Say hi:
In this post I’ll share my reasons, steps, sources, choices and results. I hope it’s helpful for google searchers and others. If you have any questions, remarks, additions or corrections, please leave them in the comments. I'll deal with them as soon as possible.
Sections
- Background
- Why move to x86?
- Why run LEDE and not pfSense / a full Linux distro?
- Sourcing the hardware
- Prepping the hardware
- Installing and running LEDE
- Benchmarks R7800 / mini pc
- Conclusion
Background
I’ve been using OpenWRT / LEDE for some years now, and find myself caught in a never-ending upgrade cycle:
Rinse and repeat. My last 3 devices, and the reasons I shelved them, are:
- TP-Link WDR4300 (5 GHz sucks);
- D-link DIR-860L (crashes and burns with sqm);
- Netgear R7800 (maxes out at 45 Mbit/s with OpenVPN).
Even though I've bought all of them on sale, that's €250 spent on router hardware in 2.5 years = €100 per year!
And now, it's time again for a new device. But wait! Why YASR (yet another SOHO router)? This time, I'll choose differently.
Why move to x86?
Articles like Numbers don’t lie—it’s time to build your own router (Ars Technica) argue that most SOHO routers can't keep up with increasing bandwidths.
That may be true, but I "only" have 75/25 Mbit/s down/up at home. So I need other pre-purchase rationalizations:
- I want to run a VPN client on the router to encrypt all internet traffic. Stick it to the man! But my R7800 can't saturate my VDSL2 line while running OpenVPN @AES-128-CBC. And as you know, VDSL2 lines should be saturated, always;
- A new SOHO router that can do this, will currently (Q1 2018) cost about €350;
- For me, a SOHO router made sense in the past because it uses less energy than a pc-as-a-router. However, the current crop of mini pc's only draws a very reasonable 8-15 Watts of power;
- In terms of raw cpu power, x86 > ARM / MIPS. This is relevant for cpu-intensive, single-threaded software like OpenVPN. Oh, you have a gazillion cores blazing? Good for you! OpenVPN will then only use this one core, right here, thank you very much;
- Some x86 cpus offer extended instruction sets like AES-NI, for hardware crypto support;
- x86 is easy to upgrade. If you need a larger SSD or a new WLAN card, just swap it like its hot;
- For about 100 euros, you can buy a LEDE compatible mini pc that will leave most high end SOHO routers in the dust;
- I hope to break the upgrade cycle this way;
- And finally the real reason: I need a new weekend project.
Well, I convinced me. Let's do it!
Why run LEDE and not pfSense / a full Linux distro?
My choice, my reasons:
- LEDE offers ready-to-use packages that I'd have to cobble together myself on other distros (e.g. adblock, sqm, web based admin GUI);
- LEDE supports all the hardware I need for a router;
- I'm know my way around LEDE, and I just like it. So there.
Sourcing the hardware
Wrapping up, my requirements for a x86 LEDE box are:
- Linux compatible;
- At least 2 NICs;
- Hardware crypto support;
- Free mini PCIe expansion slot for WLAN card;
- 2.4 GHz WLAN card with LEDE support.
Requirements 1 and 2, 4 are easy to meet, just check the product specs / buyer reviews.
For hardware crypto support, I'll pick an Intel N3160 (Braswell platform) with AES-NI.
For my main WLAN, I'll reconfigure my R7800 as an AP. I also have an Apple Airport Extreme card lying around. I'll stick it in the x86 box to connect IoT and guest devices.
Sources:
Next stop: Ali Express! With the requirements in mind, my final picks are:
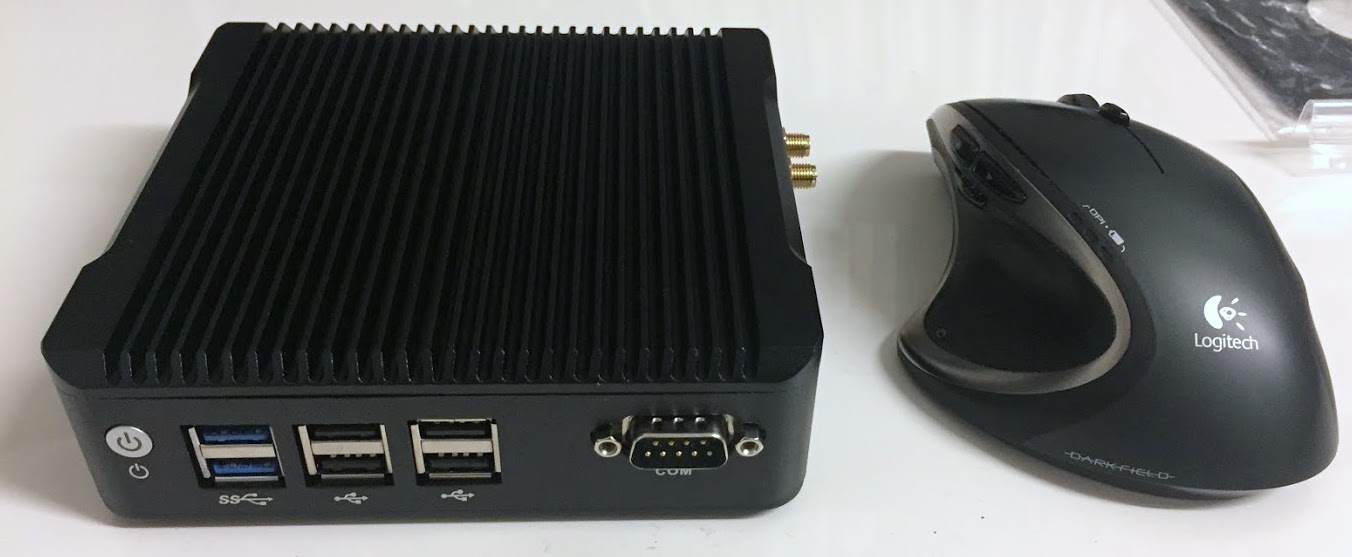
- Intel NUC N3160 Fanless Mini PC: 2 GB RAM, 32 GB SSD, 2x NIC, 1x mSATA, 1x mini PCIe, 1x RS232 COM: €138.50;
- 2 proper antennas: €0.00, salvaged from retired WDR4300.
TOTAL COSTS: €138.50
Notes:
- You can buy a comparable machine a bit cheaper on Ali Express. However, this supplier has a lot of positive reviews and was very responsive to my questions. Aftersales is good too: You can order spare parts with free shipping. That's worth something too;
- If you don't care about hardware crypto support and built-in WLAN, you can get a very capable J1900-based machine for less.
I ordered the mini pc on February 27, 2018, after Chinese New Year. It arrived in The Netherlands on March 6, 2018.
Prepping the hardware
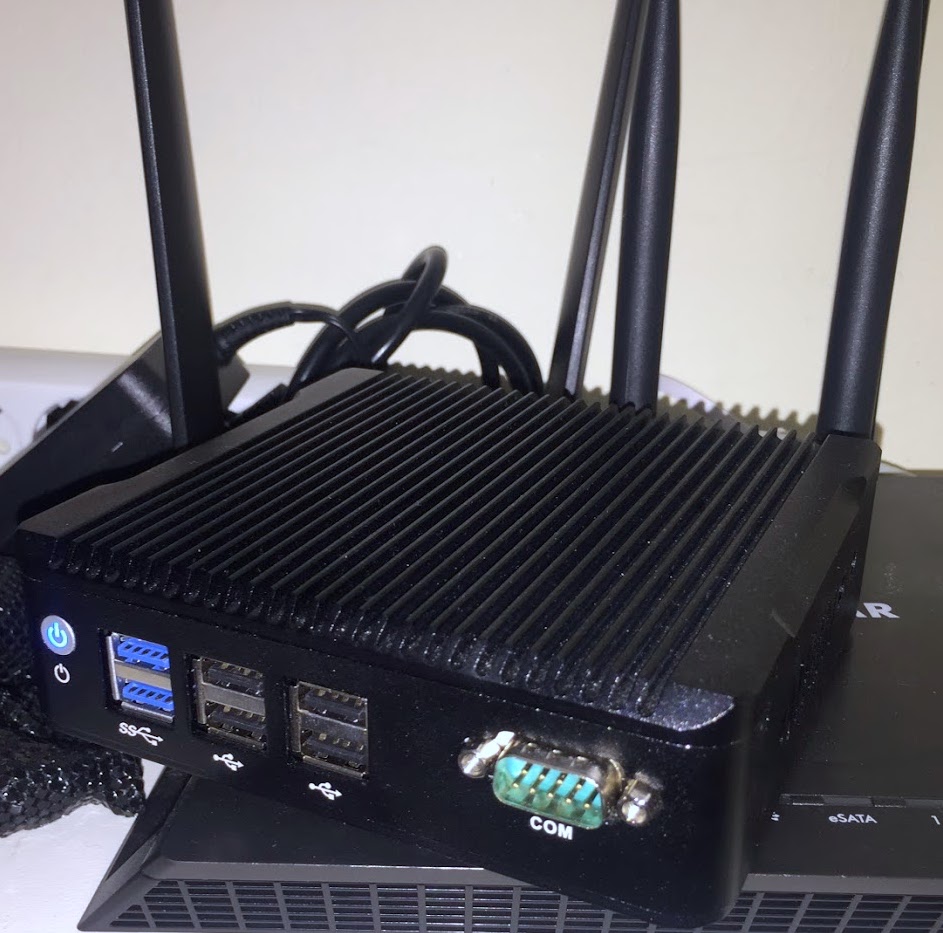
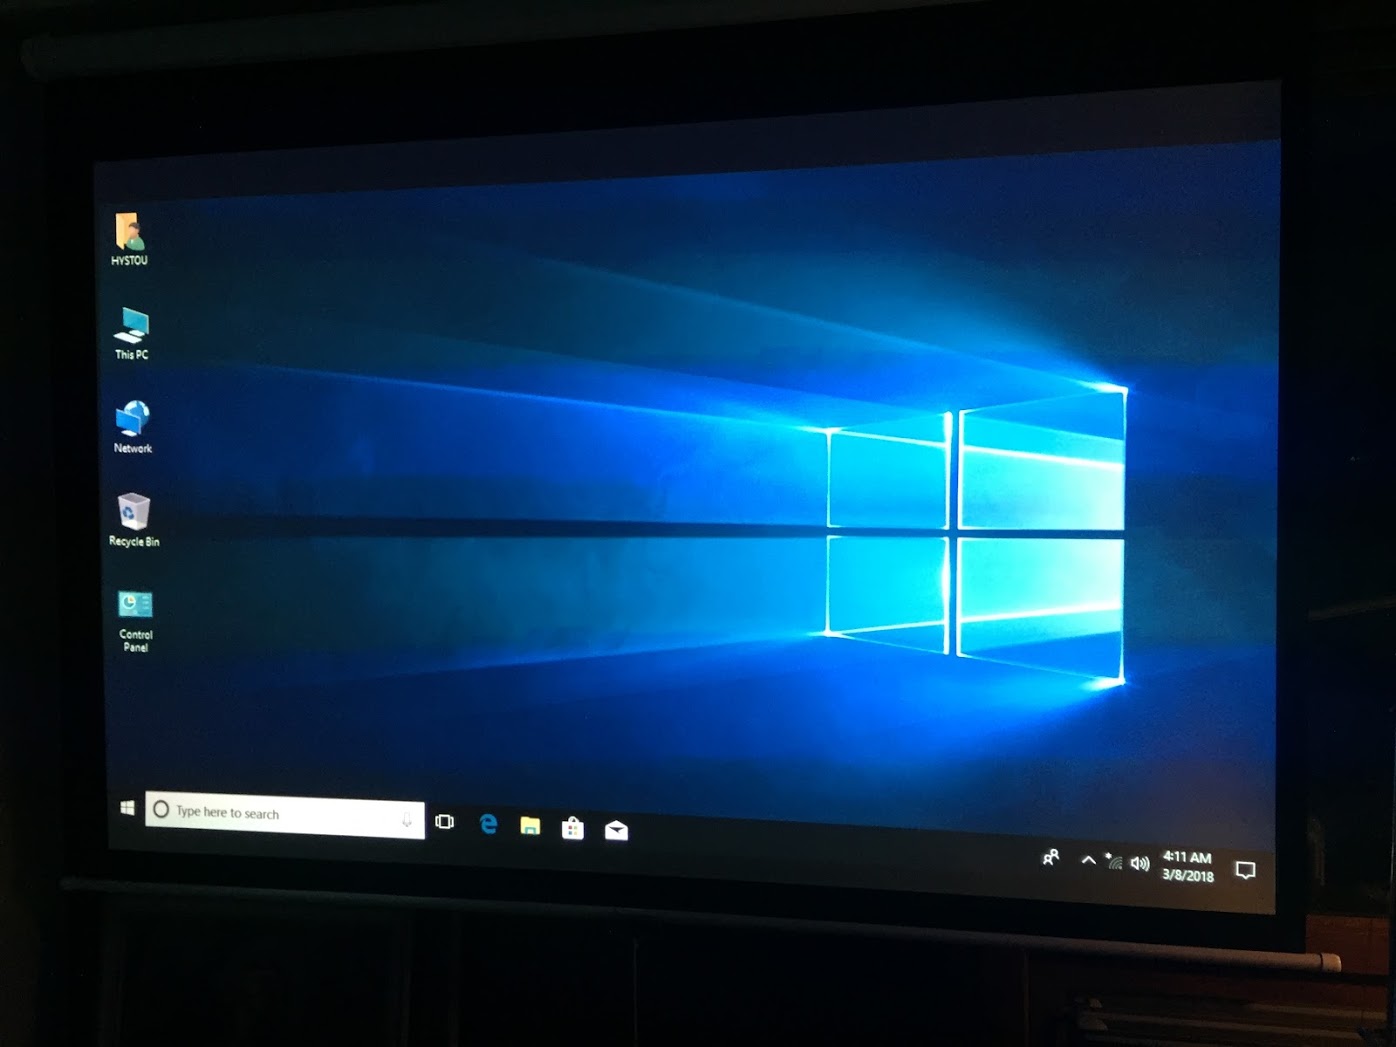
1) Check the hardware
Running fine with the complementary cracked copy of Windows 10. Thanks for being a good sport M$ 
Open mini pc to inspect the innards. Beware of electrical discharges. Always use protection. Yada yada yada.
The mini pc is fanless, with the whole case acting as a heatsink. Its CPU is glued directly to the case, so be extremely careful if you feel the urge to remove the system board. You could shear the CPU right off.
2) Add the WLAN card
The mini pc already has 2 SMA connectors for the included half height Broadcom WLAN card:
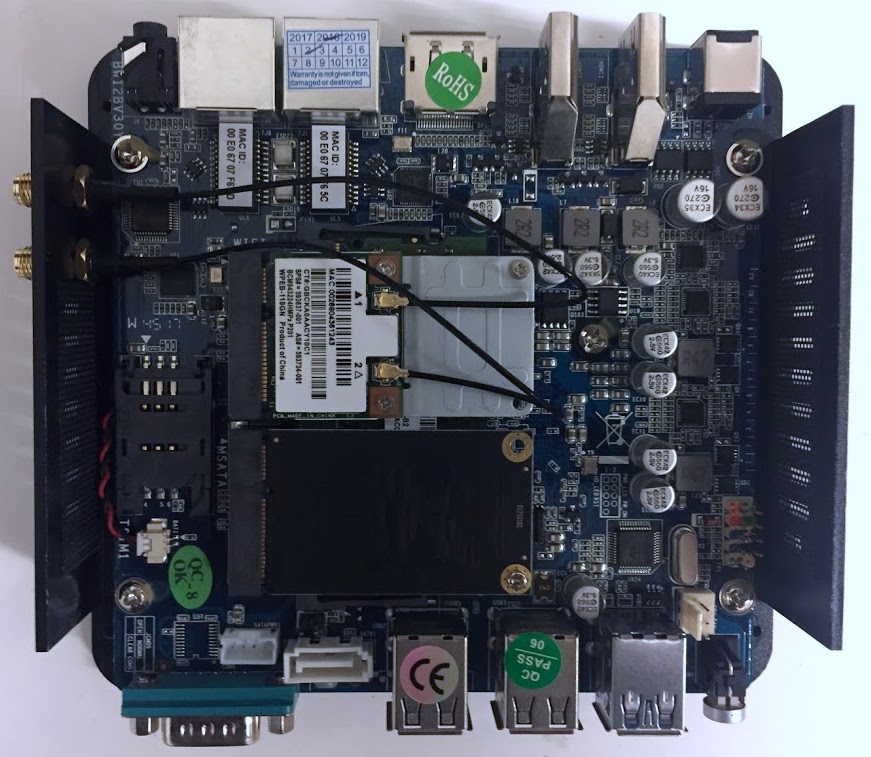
The Broadcom card works okay in AP mode with the brcmfmac driver, although a bit unstable. I prefer an Atheros card, so I'll drop in an Apple Airport Extreme card (ath9k supported).
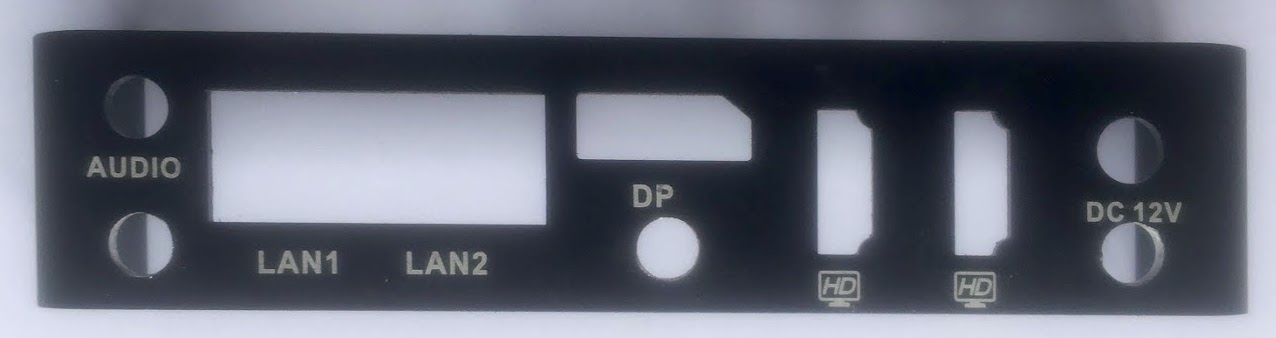
The original antenna mounting holes are located at the right-hand side, but are a really tight fit for regular size antennas. Also, I'd rather have the antennas at the back.
So now, let's drill 3 holes (6.5 mm) in the case to relocate the SMA connectors. Why 3? because I might want to use a 3 chain WLAN card in the future.
Drilling sounds rather straight forward, but you can't undo this. So allow me to elaborate:
Determine hole locations
Some pointers, in order of importance:
- On the inside, make sure the mounted connectors won't touch any system board components.
- On the outside, hold your antennas at the intended spot in the orientation you want them (straight up / perpendicular / inclined / whatever). Connect the power cord and all other cords you want to use. Make sure the antennas won't be blocking the cords and vice versa.
- Don't place the connectors too close to the edge. Allow for ca. 4 mm of material left.
- If you’re a stickler for details, align the center of the intended holes with the center of existing holes. It’ll look much cleaner than randomly drilled holes.
Drill the holes
- Remove the case panel. In my case (ha!), the back panel comes right off.
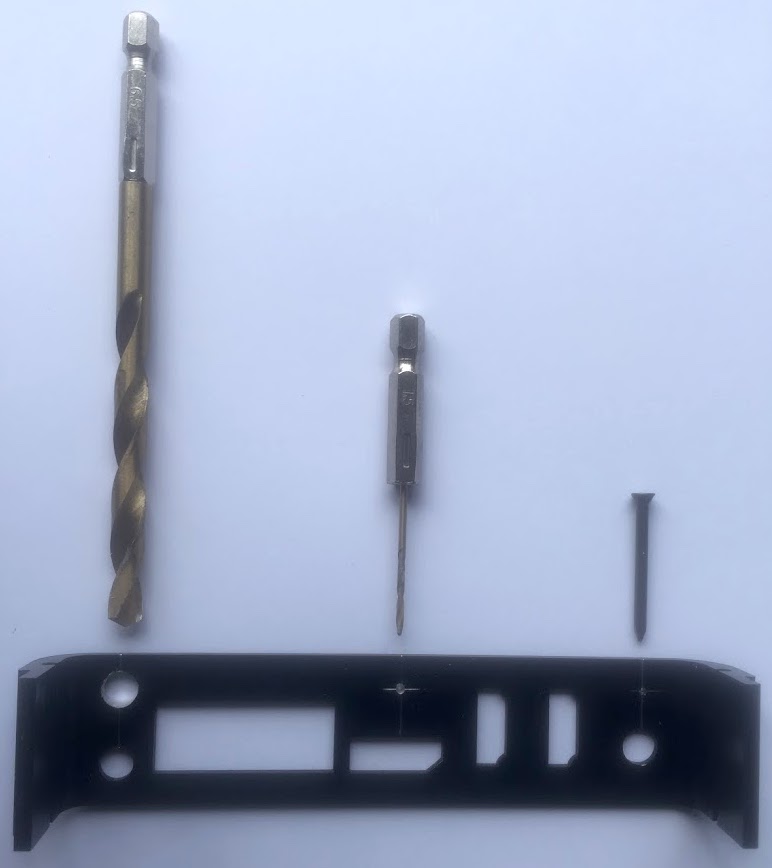
- On the inside, mark the exact hole locations with a sharp nail and ruler. Add small dents to the "crosshairs" to guide the drill. I punched them with a hard nail and a hammer.
- Drill with a HSS pilot drill first, a larger drill will skid all over the place. Start at low speed, then go full speed when the drill catches.
- Gradually drill larger till you're at 6.5 mm.
After drilling
- Remove any loose burrs that could cause short circuits.
- Mount SMA connectors.
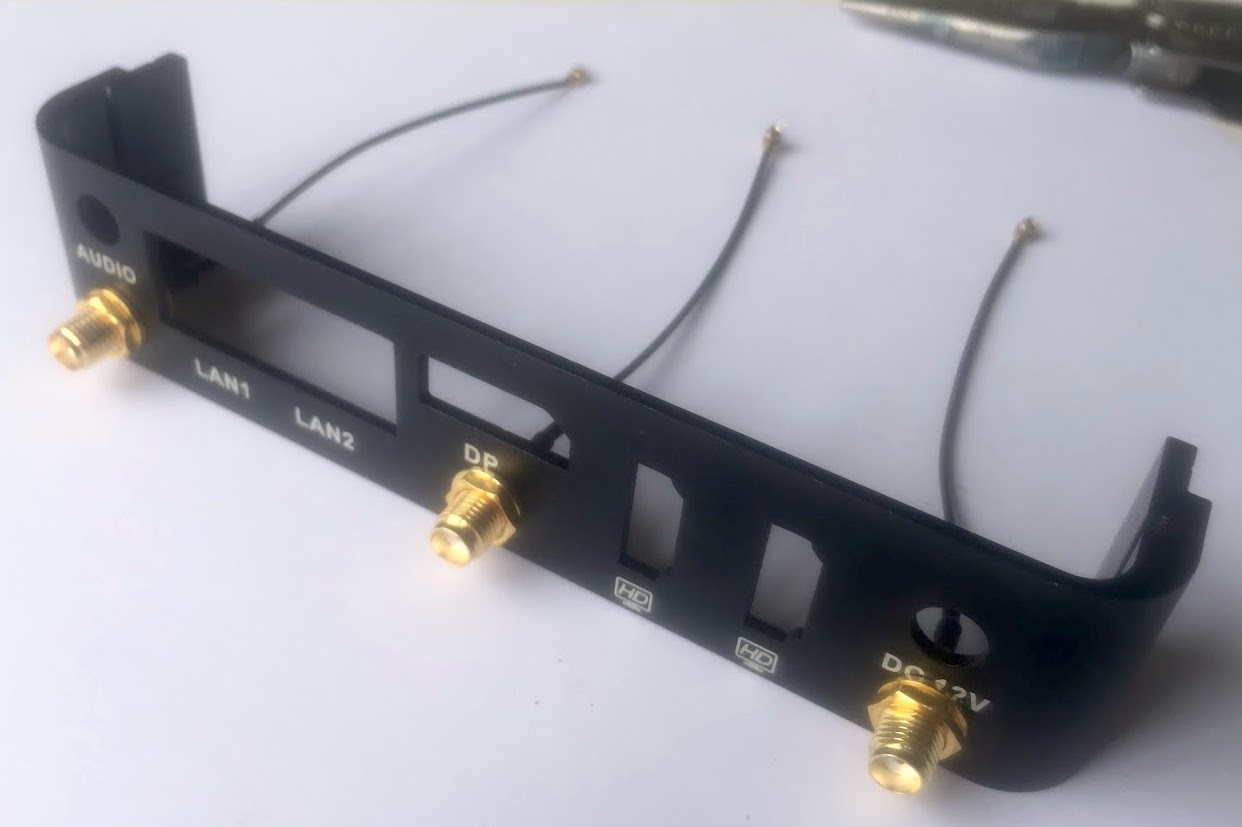
- Mount WLAN card and secure antenna leads with hot glue.
- Close the case and check the hardware again.
Installing and running LEDE
Requirements:
- Working pc with Windows, keyboard, mouse, display
- 2 USB sticks
1) Create Linux bootstick
To install LEDE, it’s handy to boot right into Linux. Using a USB bootstick seems the way to go.
My mini pc uses UEFI instead of BIOS. I followed this tutorial to create a UEFI compatible bootstick with Ubuntu, using Rufus on Windows. But you can find many other recipes.
Make sure your USB stick is large enough to hold the Linux disk image. For Ubuntu, you need at least 2 GB.
2) Download LEDE x86_64 on 2nd stick
Download "combined-ext4.img.gz" on your 2nd stick:
https://downloads.lede-project.org/releases/17.01.4/targets/x86/64/
3) Boot from Linux stick
Sticks ready? Then reboot the pc and watch the miracle happen!
Does your pc not load Linux but still boot into Windows? Then change the boot device order in BIOS / EUFI and reboot again. Also check if your stick has the right partition scheme. I had to use "MBR Partition Scheme for BIOS or UEFI".
4) Write LEDE disk image to harddisk
- First, unzip the compressed LEDE disk image. I'll be lazy and use the GUI. Open the Ubuntu file explorer, find "lede-17.01.4-x86-64-combined-ext4.img.gz", right-click it and select "Unzip"
- We now have an unzipped disk image "lede-17.01.4-x86-64-combined-ext4.img"
- Since we're being lazy, right-click the unzipped image and rename it to something short, e.g. "lede.img"
- Now open a terminal window. Press the Windows key to bring up the search bar. Type "terminal" and hit enter.
- Find your LEDE stick and harddisk: Enter "sudo fdisk -l" to list all storage devices.
- My LEDE stick, containing "lede.img", is located at "/mount/ubuntu/UFD PHILIPS"; my SSD at "/dev/sda"
- Use "cd" to go to the folder holding "lede.img". In my example "cd /mount/ubuntu/UFD\ PHILIPS"
Beware: the following command will zap all data on the harddisk! Please make sure to backup your bitcoins.
- Type "sudo dd if=lede.img of=/dev/sda bs=1M count=100" and hit enter.
Bye, bye Windows! I had a wonderful 30 minutes.
5) Resize root partition with gparted
The LEDE ext4 disk volume is only 256 MB or so. Fire up gparted to make the root partition use all available disk space. Its pointy-clicky easy.
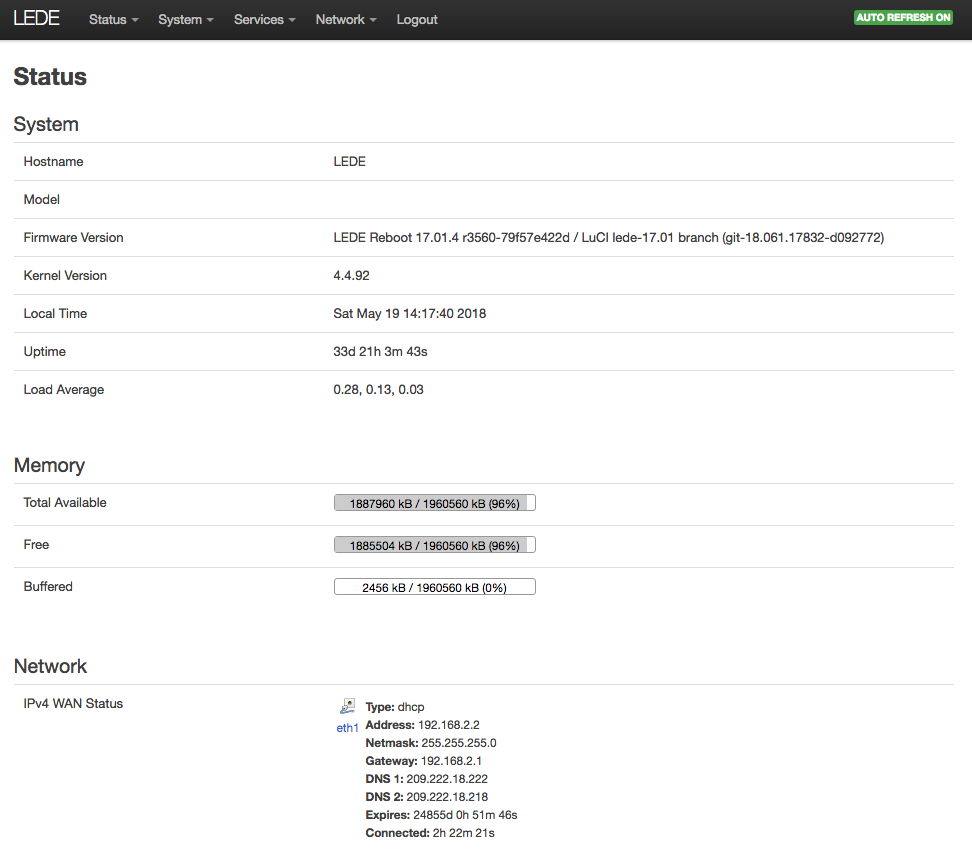
6) Remove USB stick and boot into LEDE
7) Check system info
root@LEDE:~# lspci
00:00.0 Host bridge: Intel Corporation Atom/Celeron/Pentium Processor x5-E8000/J3xxx/N3xxx Series SoC Transaction Register (rev 35)
00:02.0 VGA compatible controller: Intel Corporation Atom/Celeron/Pentium Processor x5-E8000/J3xxx/N3xxx Integrated Graphics Controller (rev 35)
00:13.0 SATA controller: Intel Corporation Atom/Celeron/Pentium Processor x5-E8000/J3xxx/N3xxx Series SATA Controller (rev 35)
00:14.0 USB controller: Intel Corporation Atom/Celeron/Pentium Processor x5-E8000/J3xxx/N3xxx Series USB xHCI Controller (rev 35)
00:1a.0 Encryption controller: Intel Corporation Atom/Celeron/Pentium Processor x5-E8000/J3xxx/N3xxx Series Trusted Execution Engine (rev 35)
00:1b.0 Audio device: Intel Corporation Atom/Celeron/Pentium Processor x5-E8000/J3xxx/N3xxx Series High Definition Audio Controller (rev 35)
00:1c.0 PCI bridge: Intel Corporation Atom/Celeron/Pentium Processor x5-E8000/J3xxx/N3xxx Series PCI Express Port #1 (rev 35)
00:1c.1 PCI bridge: Intel Corporation Atom/Celeron/Pentium Processor x5-E8000/J3xxx/N3xxx Series PCI Express Port #2 (rev 35)
00:1c.3 PCI bridge: Intel Corporation Atom/Celeron/Pentium Processor x5-E8000/J3xxx/N3xxx Series PCI Express Port #4 (rev 35)
00:1f.0 ISA bridge: Intel Corporation Atom/Celeron/Pentium Processor x5-E8000/J3xxx/N3xxx Series PCU (rev 35)
00:1f.3 SMBus: Intel Corporation Atom/Celeron/Pentium Processor x5-E8000/J3xxx/N3xxx SMBus Controller (rev 35)
01:00.0 Ethernet controller: Realtek Semiconductor Co., Ltd. RTL8111/8168/8411 PCI Express Gigabit Ethernet Controller (rev 07)
02:00.0 Ethernet controller: Realtek Semiconductor Co., Ltd. RTL8111/8168/8411 PCI Express Gigabit Ethernet Controller (rev 07)
03:00.0 Network controller: Qualcomm Atheros AR928X Wireless Network Adapter (PCI-Express) (rev 01)
root@LEDE:~# df
Filesystem           1K-blocks      Used Available Use% Mounted on
/dev/root             30430748     39756  30374608   0% /
tmpfs                   980280      2424    977856   0% /tmp
tmpfs                      512         4       508   1% /dev
root@LEDE:~# free -m
             total       used       free     shared    buffers     cached
Mem:       1960560      73848    1886712       2428       2456      19964
-/+ buffers/cache:      51428    1909132
Swap:            0          0          0
At first, LEDE did not detect my wifi card. I had to add the following LEDE packages, which we're not installed by default:
- ath9k-htc-firmware
- kmod-ath9k
- kmod-ath9k-common
- wpad-mini
8) Configure LEDE to your liking
This is beyond the scope of this post. You know the drill, have fun!
Also, you might want to google "linux ssd optimization" to get the most out of your SSD.
Benchmarks R7800 versus mini pc
Want to know if the mini pc performs better than the R7800? Of course you do! Here are some figures with DSL reports and openssl. Please note: I'm not an expert. I just play one on internet fora:
VDSL wired
- R7800: 72 Mbit/s
- mini pc: 72 Mbit/s
Winner: draft!
Test hardware crypto support mini pc
Openssl speed
$ openssl speed aes-256-cbc
aes-256 cbc      25168.07k    26030.43k    24044.89k    67203.41k    69908.72k
Openssl speed + hardware crypto
$ openssl speed -evp aes-256-cbc
aes-256-cbc     129358.69k   213117.59k   222766.13k   274110.07k   276409.00k
Next, I configured the routers as an OpenVPN client for Private Internet Access with aes-128-cbc encryption:
OpenVPN wired
- R7800: 45 Mbit/s
- mini pc: 72 Mbit/s
Winner: mini pc!
OpenVPN 5 GHz
- R7800: 42 Mbit/s
- mini pc: 66 Mbit/s
Winner: mini pc!
Conclusion
So there you have it: For the about same price as my Netgear R7800, I now get more punch in a smaller package. Of course, I'm using the R7800 as an AP now, so the total package is bigger.
I hope this device will serve me for a good couple of years before I feel the need to upgrade again.
Nah, probably not. But I gave it my best

 .
.