SSHD for Official Linksys EA7500v2 Firmware

SSHD for Official Linksys EA7500v2 Firmware

I have flashed six EA7500v2 units to OpenWrt, but there was a 7th no way boot to OpenWrt. I have tried EVERYTHING I can find from the Internet.

Ref: all methods mentioned in these two threads failed.
(https://forum.openwrt.org/t/linksys-ea7500-v2-installation-failing)
(https://forum.openwrt.org/t/problem-installing-on-linksys-ea7500v2)

For revenge, I decided to inject sshd to the official FW and have fun.

Facts about Linksys EA7500V2 FW

Assuming factory settings,

  1. http://192.168.1.1/sysinfo.cgi
    gives a whole lot of info. If asked for auth, use admin:admin.
    We can see boot_part=1 or 2, make sure boot_part=2 before flashing OpenWrt, thus avoid flashing 3-times(openwrt-official-openwrt).
    If you see boot_part=2 and flashed OpenWrt, but the unit reboots 3 times fail, and 1 more time to go back to Linksys FW (part 2), then you got a (not so) rare unit. Before we find the cause, I suggest planting sshd for fun.

  2. To switch boot partition, access http://192.168.1.1, then Troubleshooting -> Diagnostics -> Restore previous firmware
    This does not re-flash anything, it only switch boot partition and reboot.

Inject sshd summary

  1. Dissect FW_EA7500v2_2.0.8.194281_prod.img 3 parts.
    0x0 - 0x25FFFF, save as head.bin
    0x260000 - 0x20FFFFF, save as body.jffs2
    0x2100000 - 0x21000FF(end), save as tail.bin
  2. Mount body.jffs2.
  3. Use openwrt toolchain to build static dropbear.
  4. Install dropbear to mount, and write a startup script.
  5. use mkfs.jffs2 against the mount dir to make mod.jffs2.
  6. Combine head.bin, mod.jffs2, tail.bin, and correct CRC.
  7. Flash and have ssh.

Step by Step

Because OpenWrt toolchain requires 64-bit Linux, all the following commands run on such OS.

1. Dissect FW image

Assuming FW_EA7500v2_2.0.8.194281_prod.img in home dir.

dd if=FW_EA7500v2_2.0.8.194281_prod.img bs=128k of=head.bin count=19
dd if=FW_EA7500v2_2.0.8.194281_prod.img bs=128k of=body.jffs2 count=245 skip=19
dd if=FW_EA7500v2_2.0.8.194281_prod.img bs=128k of=tail.bin count=1 skip=264

2. mount body.jff2

These commands must be run as root. we use sudo here.
/mnt must be empty, or use another empty dir for mount

sudo modprobe mtdram total_size=36864 erase_size=128
sudo modprobe mtdblock
sudo dd if=body.jffs2 of=/dev/mtdblock0 
sudo mount -t jffs2 -o rw,noatime /dev/mtdblock0 /mnt

3. Build dropbear

Download two files to home folder
dropbear source
openwrt toolchain

Run commands.

tar -xf dropbear-2022.83.tar.bz2
tar -xf openwrt-toolchain-22.03.5-ramips-mt7621_gcc-11.2.0_musl.Linux-x86_64.tar.xz

export PATH=$PATH:~/openwrt-toolchain-22.03.5-ramips-mt7621_gcc-11.2.0_musl.Linux-x86_64/toolchain-mipsel_24kc_gcc-11.2.0_musl/bin
export STAGING_DIR=~/openwrt-toolchain-22.03.5-ramips-mt7621_gcc-11.2.0_musl.Linux-x86_64/toolchain-mipsel_24kc_gcc-11.2.0_musl

cd ~/dropbear-2022.83
./configure --build=x86_64-pc-linux-gnu --host=mipsel-openwrt-linux-musl --disable-zlib --disable-syslog --disable-lastlog --enable-static
make strip PROGRAMS="dropbear scp" STATIC=1 MULTI=1

upx --best --ultra-brute -o dropbear dropbearmulti

4. Install dropbear

sudo cp dropbear /mnt/usr/sbin/
sudo ln -s /usr/sbin/dropbear /mnt/usr/bin/scp

sudo tee /mnt/etc/registration.d/31_dropbear << EOD >> /dev/null
#!/bin/sh
dropbear -B -r /etc/dropbear_rsa_host_key
EOD

sudo chmod 755 /mnt/etc/registration.d/31_dropbear

Optionally, set uncanny version string

echo 2.0.9.194281 | sudo tee /mnt/etc/version > /dev/null

5. make JFFS2 file

cd ~
sudo mkfs.jffs2 --little-endian --squash-uids --pad --eraseblock=128 --root=/mnt --output=mod.jffs2

Cleanup

sudo umount /mnt
sudo modprobe -r mtdblock
sudo modprobe -r mtdram

6. Combine mod.img

CRC Ref: OpenWrt imagebuilder/scripts/linksys-image.sh

cat head.bin mod.jffs2 tail.bin > mod.img

printf "%08X" $(dd status=none if=mod.img bs=$((`stat -c%s head.bin` + `stat -c%s mod.jffs2`)) count=1|cksum| cut -d ' ' -f1) > /tmp/crc
dd conv=notrunc if=/tmp/crc of=mod.img bs=1 count=8 seek=$((`stat -c%s head.bin` + `stat -c%s mod.jffs2` + 32))

7. Flash and ssh

Switch to boot_part 1, then flash, so that this FW goes to boot_part 2. If we want to try OpenWrt again some time, OpenWrt will go to boot_part 1.

ssh root@192.168.1.1
passwd: admin

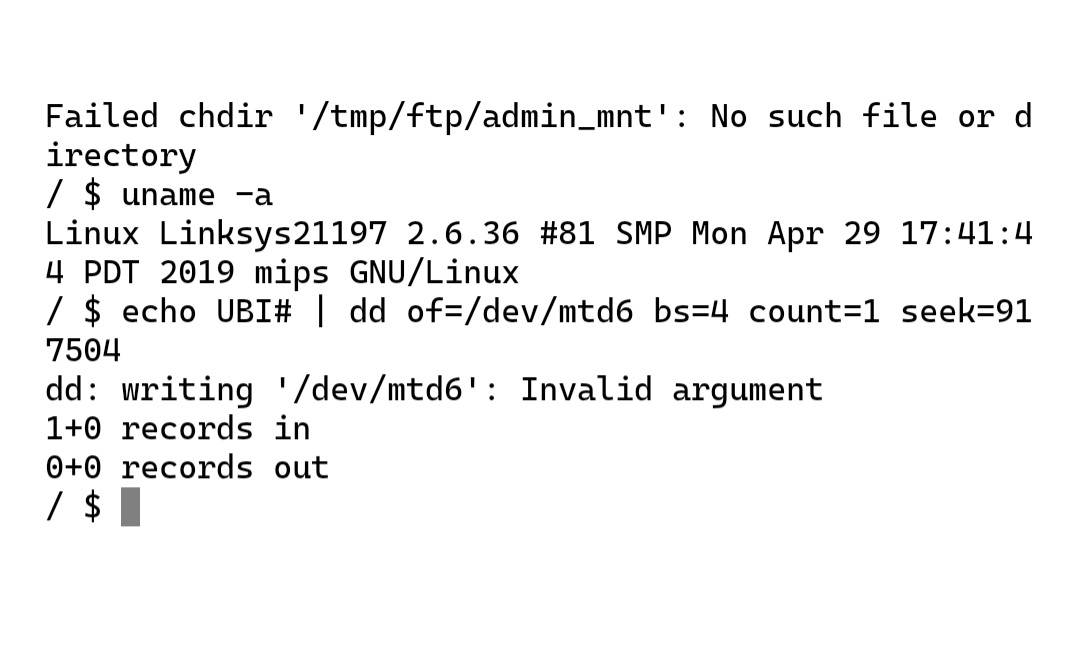
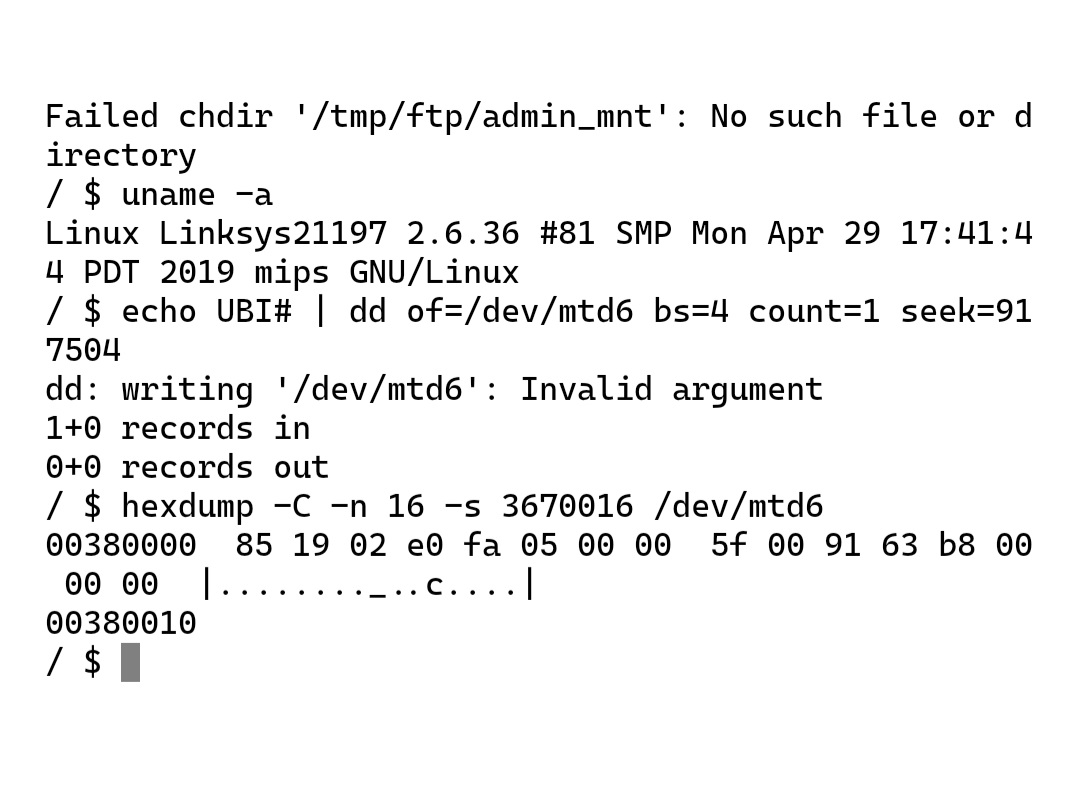
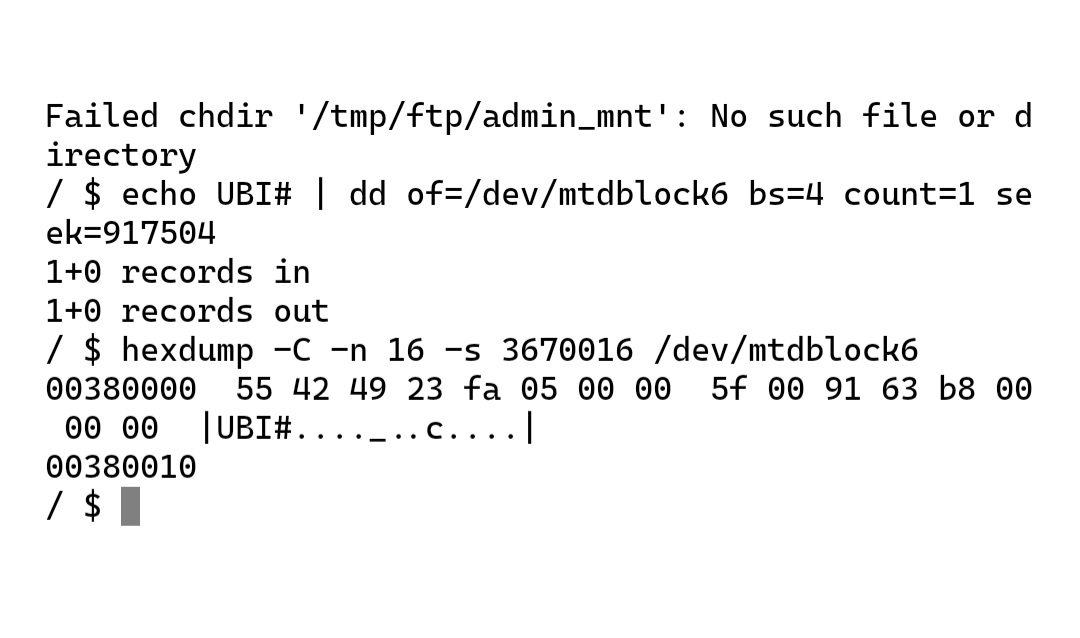
Now we can dump mtd, etc to see why OpenWrt can't boot

3 Likes

I compiled an OpenWrt kernel with mtdoops writing to sysdiag partition. Worked as expected. but I have to say all the effect working with software should have be well saved by linking to serial from the beginning.

All in all, I got the log.
Excerpt

...
11 fixed-partitions partitions found on MTD device mt7621-nand
Creating 11 MTD partitions on "mt7621-nand":
0x000000000000-0x000000080000 : "boot"
0x000000080000-0x0000000c0000 : "u_env"
0x0000000c0000-0x000000100000 : "factory"
0x000000100000-0x000000140000 : "s_env"
0x000000140000-0x000000180000 : "devinfo"
0x000000180000-0x000000580000 : "kernel"
nand: nand_erase_nand: attempt to erase a bad block at page 0x00000a40
0x000000580000-0x000002980000 : "ubi"
0x000002980000-0x000002d80000 : "alt_kernel"
0x000002d80000-0x000005180000 : "alt_rootfs"
0x000005180000-0x000005280000 : "sysdiag"
0x000005280000-0x000007f80000 : "syscfg"
...
mt7530-mdio mdio-bus:1f lan4 (uninitialized): PHY [mt7530-0:04] driver [MediaTek MT7530 PHY] (irq=26)
DSA: tree 0 setup
UBI error: invalid UBI magic "0 0 0 0" at offset 0x0 from mtd6
/dev/root: Can't open blockdev
VFS: Cannot open root device "(null)" or unknown-block(0,0): error -6
...

The wired thing is UBI error: invalid UBI magic "0 0 0 0" at offset 0x0 from mtd6

The stock FW read mtd7 alright. Stock FW mtd7 is exactly OpenWrt mtd6 by the name of "ubi".

On stock FW
dd if=/dev/mtd7ro bs=4 count=1 | hexdump -C
shows "UBI#"

If I dump the whole partition, the image is 100% correct ubi.
Only OpenWrt kernel can't read this ubi partition.

Finally, this is the patch excerpt that makes UBI error show magic and offset

drivers/mtd/ubi/build.c

static void __init ubi_auto_attach(void)
{
	...
	
	msleep(10000); /* added by bism to try luck */
	
	/* try attaching mtd device named "ubi" or "data" */
	mtd = open_mtd_device("ubi");
	if (IS_ERR(mtd))
			mtd = open_mtd_device("data");

	if (IS_ERR(mtd))
			return;

	msleep(10000); /* added by bism to try luck */
	
	...
	
	if (strncmp(magic, "UBI#", 4)) {
		pr_err("UBI error: invalid UBI magic \"%hhX %hhX %hhX %hhX\" at offset 0x%llX from mtd%d\n", magic[0], magic[1], magic[2], magic[3], offset, mtd->index);
	}

Maybe the bad block at page 0x00000a40 somehow prevents the kernel from reading the ubi partition. I feel it can be fixed on software level.

1 Like

Wanted to add that I'm seeing the same thing here on an EA7300 v2: Is ea7300 v2 no longer supported? - #11 by e-lisa

I suspect there is probably a way to handle this in software as well

A bug had been reported. But I wouldn't expect a prompt fixing. See here for detail
https://github.com/openwrt/openwrt/issues/12895

If you can compile the kernel, here is a not perfect but working walk-around.

drivers/mtd/ubi/build.c

static void __init ubi_auto_attach(void)
... omitted
/* check for a valid ubi magic */
if (strncmp(magic, "UBI#", 4)) {
        pr_err("UBI error: no valid UBI magic found inside mtd%d, but still try attaching...\n", mtd->index);
		/* goto cleanup; comment out to fall-through */
}
... omitted
4 Likes

What a patch that is... And it works. Thank you very much!!!!

1 Like

A patch is a small piece of code that you can add when compiling the full source code. It is meant to solve a tiny problem for experimenting. Than it can be submited to mainline code for general purpose.

1 Like

I know what a patch is, my comment was that good patches come in sizes of one to two lines.

Thank you again!

2 Likes

Hello there bism,

I have two EA7500v2 and Im struggling to make OpenWRT works in one of them. The other one (the one working) was setup 1 year ago in 21.02.3 and it has been working perfectly fine since then.

I am assuming one of them has the problem you are describing and since Im a total noob regarding OpenWRT development, I would like to ask you about your fix.

If I have understood correctly, I should clone the git repository, modify the drivers/mtd/ubi/build.c with your code and compile it. Then I can install it directly in my EA7500V2?

Why is this happening to some specific units?

Thanks in advance!

Yes, you're right, we have to clone the git repo, checkout the main branch, modify one line in that drivers/mtd/ubi/build.c file, compile and then flash the device. The hardest part is to setup a OpenWRT dev environment though.

Once the device is booting with this fix, we can re-flash OpenWrt official version if we like. The device will still boot.

This problem has something to do with badblock handling. NAND is expected to have some badblocks. So I wish a fix out soon. For details and progress please see https://github.com/openwrt/openwrt/issues/12895

Wish you good luck!

2 Likes

So we can assume that if the error has not risen (yet), than the NAND has no (or very few) bad blocks. But the time being some bad blocks should arise and the error will appear. Especially if the user flash very often.

Thanks for the information.

I have setup the dev enviroment but regarding the modification of build.c I cant find it in the folder after the git clone and the ''./scripts/feeds update/install''. I guess I should do a ''make'' and it will download from somewhere else?

And regarding the make configmenu I have selected ramips > mt7621 > ea7500V2 and included LuCi (im planning of reflashing with the official version after that), should I include something else? in case the answer is long and complicated, could you share your config file?

Thanks in advance again

I don't think we need to worry about ruining our NAND by frequent flashing. Even if we flash every week, there are merely 52 times per year. And 52 is almost zero comparing to tens or hundreds of million of writing cycles.

The badblocks that prevent the device from booting had already been there before it left the factory. It's only a software glitch that failed to handle the badblocks properly, no worries about hardware.

1 Like
  1. Download config.buildinfo file, so we have a good starting position from here. see using_official_build_config

  2. make menuconfig and include luci. We don't really need luci to re-flash an official version, but it's indeed convenient somehow. You have already done this, no need to select anything else.

  3. 'make' and see the firmware file generated.

  4. Patch, then make again. now we have the firmware we need, hopefully.

Good luck again!

1 Like

Hi there, bism

Sorry, old post at the bottom. It was my fault. I was in boot_part: 1 so it didnt work the first time but I installed again the official firmware, move to boot_part: 2, tried with the modified firmware and it got installed! I did a sysupgrade to the wiki version and now everything is perfectly working!

Thanks a lot for your help and I will be following the github issue anyway.

After a few tries I compiled it, modified the build.c (there were two, one inside ''target_mipsel...'' and one inside 'toolchain_mipsel...' I modified the two of them) and compiled it again. Then, a file called: openwrt-22.03-snapshot-r20194-056742885e-ramips-mt7621-linksys_ea7500-v2-squashfs-factory.bin is generated.

The router recognises it as a valid firmware and try to install but I have the same problem than before. It keeps rebooting in the Linksys GUI.

Before the first make and the second make (with the build.c modification in between, which, btw its only comment the cleanup, right? just in case Im missing something) may I do a make clean or something similar?

I did a git checkout 22.03 because it was the one they used in the wiki, maybe I should use just main?
Any other suggestion?

Thanks in advance

1 Like

Can you please share the result build.bin
I try 4 times but always failed

I waiting answer from Segio until 17 days, but no answer.

Can you share me firmware bin that have been patched?
Please, I try building my self, but it's always error.

Sorry, I have no idea where to upload a big file. But I guess writing 'UBI#' to the last eraseblock of kernel partition can also bypass the bug. saving the fuss of compiling OpenWrt. Let's try it.

  1. Mod stock FW with SSH. So we have dd and hexdump at hand.

  2. echo UBI# | dd of=/dev/mtd6 bs=4 count=1 seek=917504
    /dev/mtd6 is kernel partition for stock FW. On openwrt, it's referred by /dev/mtd5.
    917504 is 0x380000 divided by 4
    Check with
    hexdump -C -n 16 -s 3670016 /dev/mtd6
    3670016 is 0x380000

  3. Now make sure we are in boot_part=2, then flash official OpenWrt.

I'd be appreciated if you share whether this method works.

Thank you very much for replying..


It's showing invalid argument, it's normal?

And now I'm at bootpart=2
Can I flash openwrt firmware now?

ls /dev/mtd*, see if there are names like mtdblock*, replace /dev/mtd6 with /dev/mtdblock6 and try dd again. If successful, dd should show

1+0 records in
1+0 records out

And that hexdump command should show UBI#

I run those commands.
Then I try flash openwrt firmware, but it's failed to boot, and comeback to linksys official (bootpart=2)