Hello ...we need more testers..so here is Instructions how to create-->copy-->configure-->run of @dlakelan script.
CONFIGURE THE SCRIPT
Everyone has different speeds...different MTU..different type of connection...
First of all without running any qos/sqm with a wired pc (preferred) and with no one using internet except your pc..run a speed test...and write down your Download speed and Upload..remember that values in script is in Kbps (Kbit).
When you do this the only values that needs to set up when you create the script are the following.
LINKTYPE="atm" #available values is "atm","DOCSIS", "*".
WAN={your WAN interface name as appears in Interfaces tab}
UPRATE={your upload speed from speedtest etc 15000}
LAN={your LAN interface name as appears in Intefaces->LAN->Edit->Psysical settings...look photo}

DOWNRATE={your download speed from speedtest etc 45000}
GAMEUP={how much speed must allocated in game udp traffic for upload etc 800}
GAMEDOWN={how much speed must allocated in game udp traffic for download etc 1500}
GAMINGIP="192.168.1.XXX" {change to your console ip}
scroll down a little...
OH={your packet overhead etc 44...values as suggested in SQM}
MTU={your MTU value etc 1492}
CREATING THE FILE
First of all the tools you need..
For linux/Osx users it is pretty simple...create a new txt file..name it as qos.sh and copy inside the code..thats it!
For Windows users..windows has "problem" with UTF-8 and "end of line” characters in text files in shell scripts. So creating the file via notepad doesn't work.
You need Notepad++.
Open Notepad++ create a new file...paste the code of script inside...then click in Edit > EOL Conversion > UNIX/OSX Format.

Then File-->Save or Save as
TRANSFER THE FILE IN OPENWRT
To copy the file in Openwrt...
For linux/Osx users it is pretty simple to...
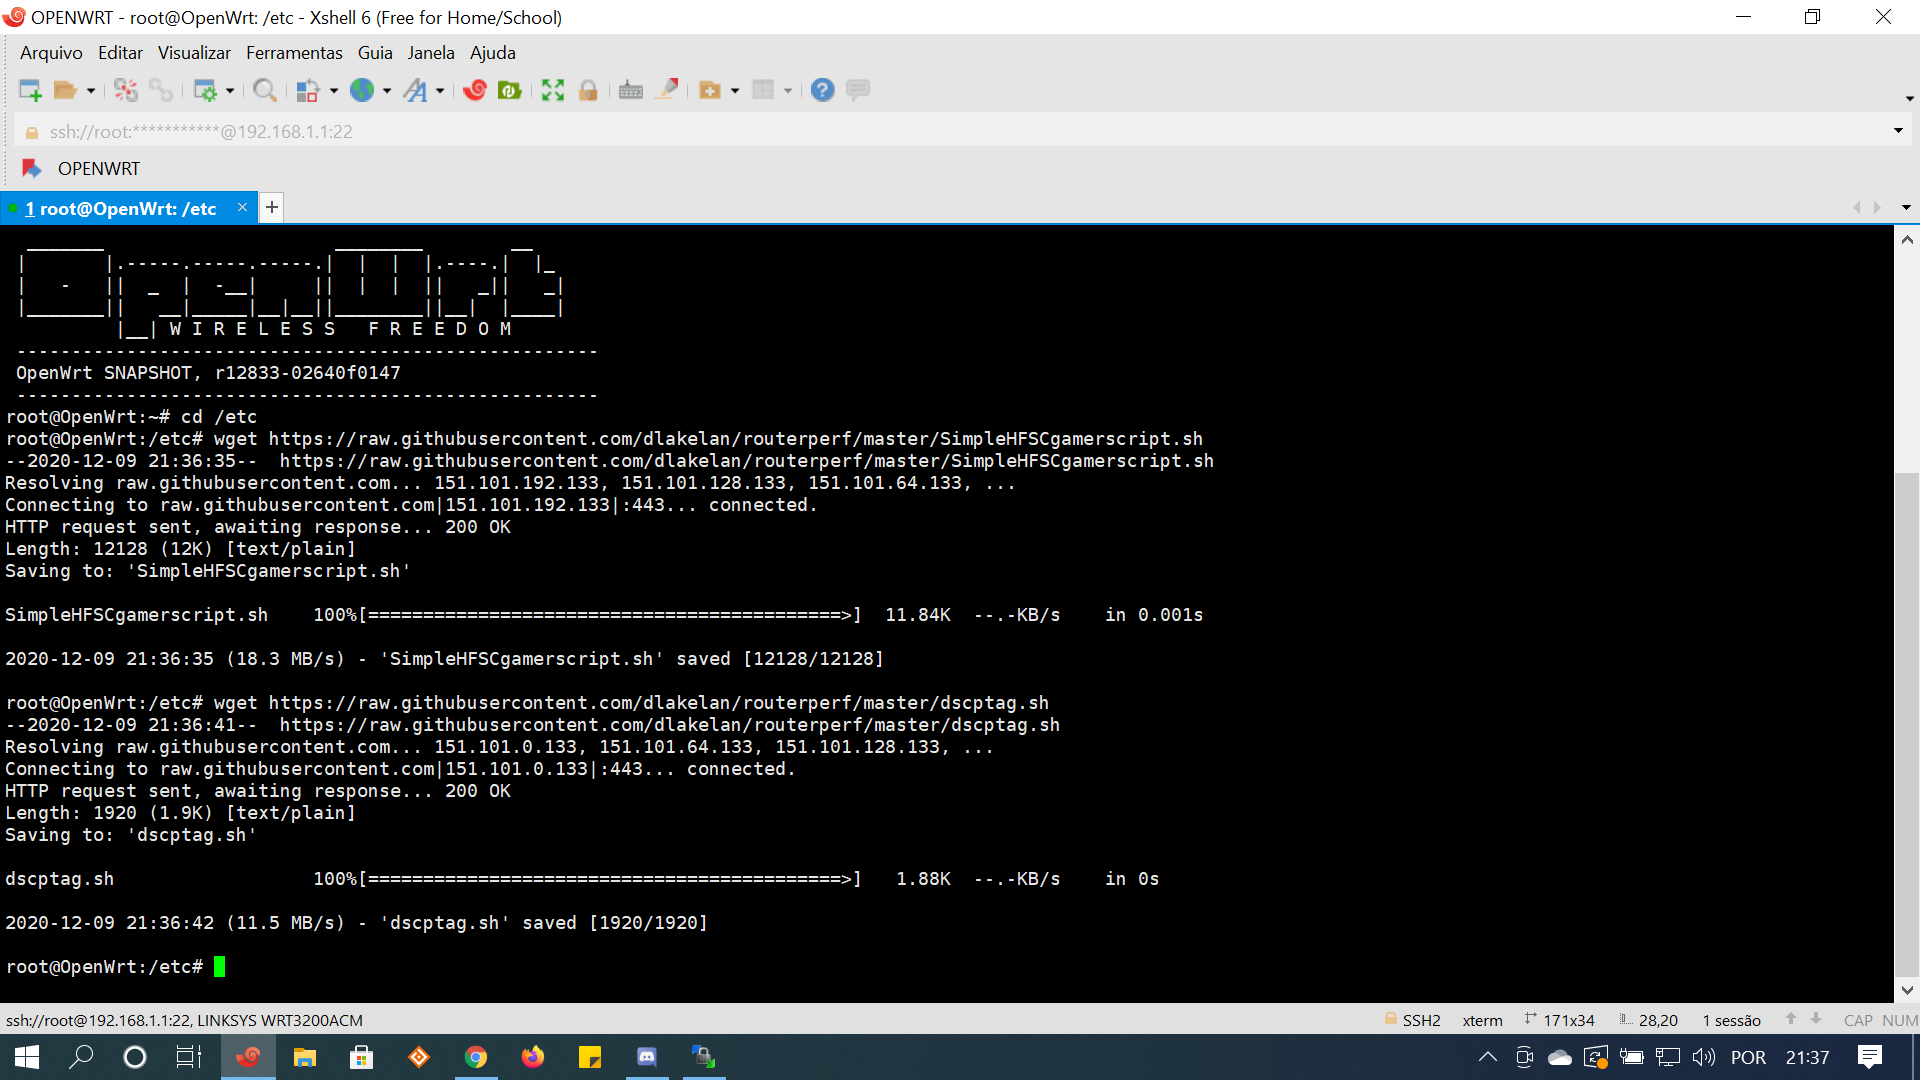
ssh to your router and use scp command..open the directory where you create the file...right click > open terminal here.
Now you are in the directory..in terminal now write..etc
scp qos.sh root@192.168.1.1:/root/
password:{your password}
You copy the file in the /root/ directory.
In terminal write...
ssh root@192.168.1.1
password:{your password}
Now you are "inside" openwrt ..
Type ls
You will see the file...qos.sh
Type chmod +x qos.sh
Type ls
You will see that is "green"...we make it executable.
For Windows users you need WinSCP...
- Download WinSCP and install it in your Windows.
- Start WinSCP on your Windows client, WinSCP's login window will pop up.
- Click on New Site on the left, then enter your OpenWrt device IP address (192.168.1.1) on the right side into Host name, keep the default port 22. In User name enter root, in Password, enter your root password (or leave blank, if you have not set a password yet).
4 Click the Login at the bottom of the Window.
5. Done. You now have an Exlorer-like view of your OpenWrt file system.
-
In left side it is your windows folders...in the right side it is Openwrt file system.
-
Navigate in left side where you create the script and copy it in /root/ directory in right side (Openwrt).
-
When you transfer the file in /root/ directory of Openwrt right click in the file-->Properties
-
You will see something like that..In Octal write 755 and hit OK.

-
You make it executable.
RUN SCRIPT
For linux/Osx users...
ssh to your router..etc
ssh root@192.168.1.1
password:{your password}
Then type ./qos.sh and type y when asked by the script.
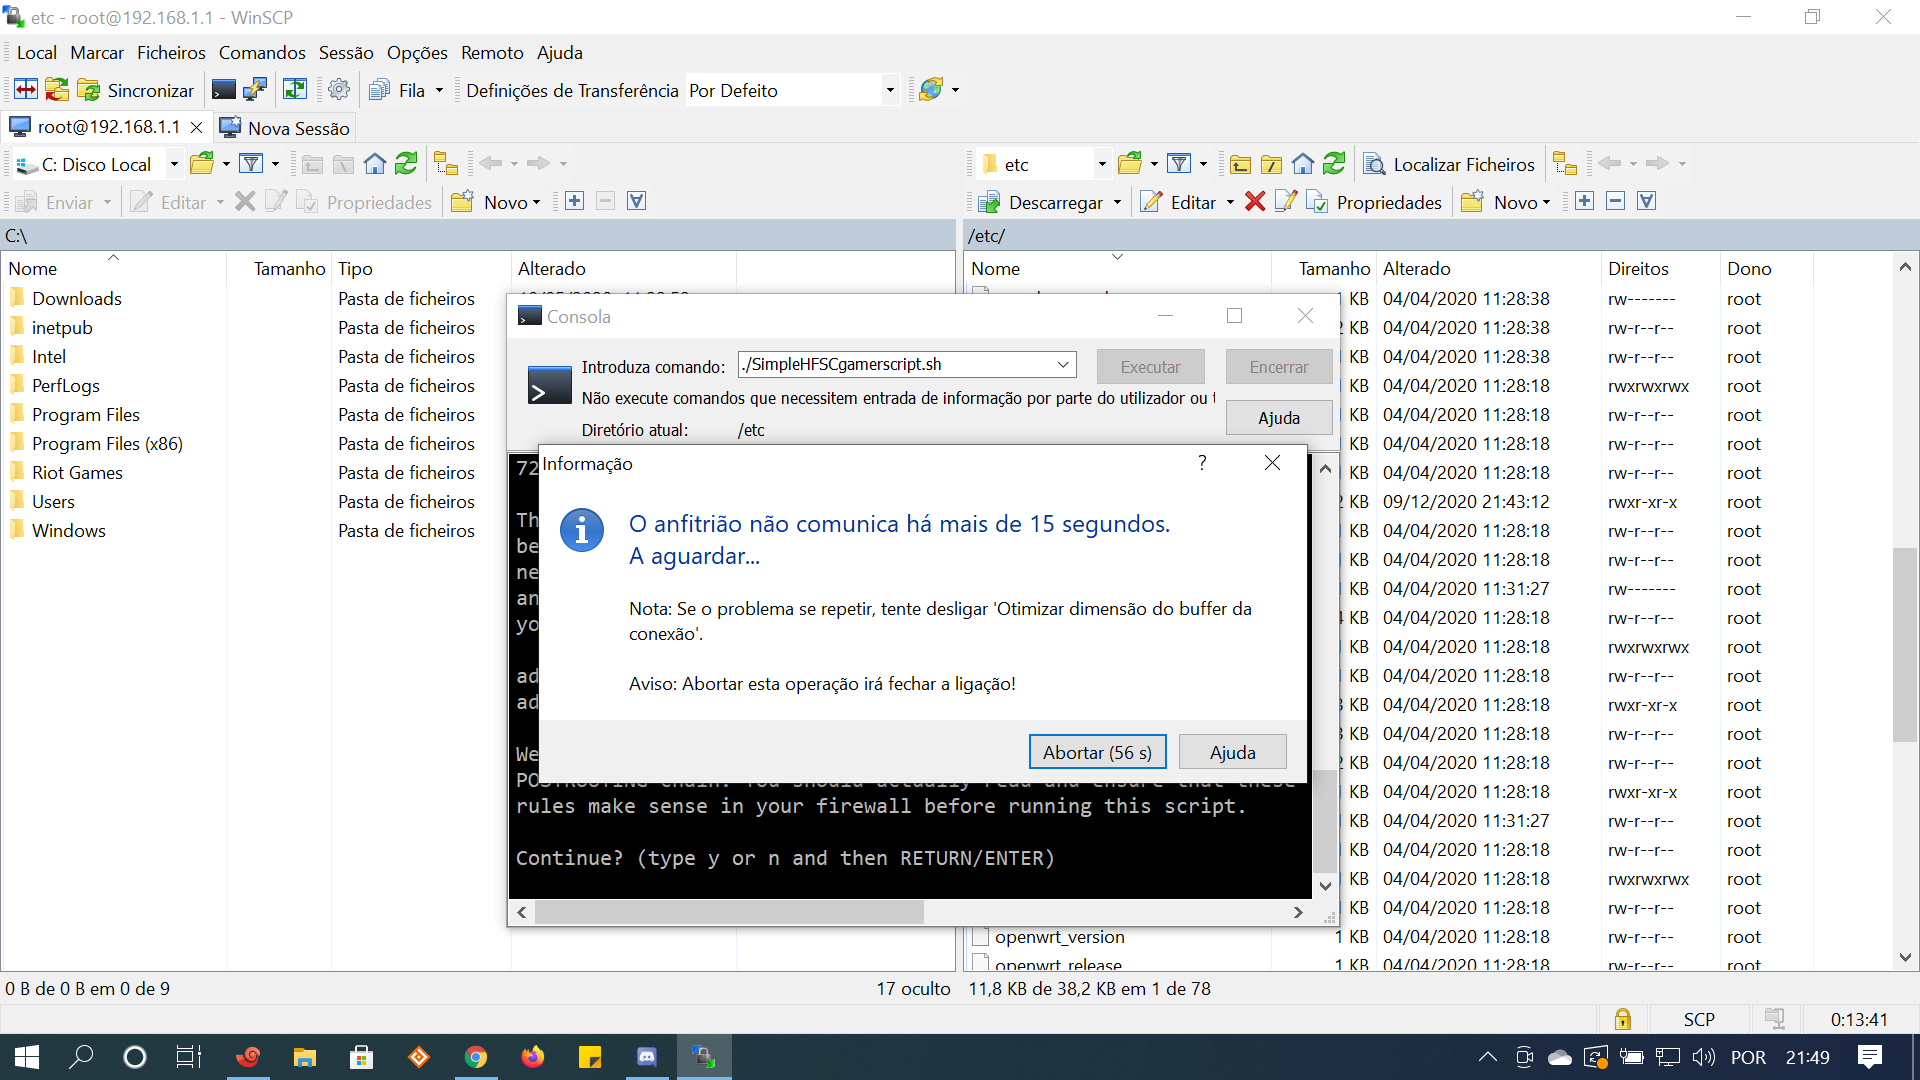
For Windows users......
You can enter the command on Console window (Commands > Open Terminal).
Make sure you are in directory /root/ (1)
Write (2) ./qos.sh
Click Execute (3)
You run it!
When prompt by script type y

That's it....you close WinSCP.
Both users...Linux/Osx and Windows....if you want to run script automatically when you reboot router.
Navigate in Openwrt GUI...
System--->Startup--> Local Startup
And copy/paste this BEFORE exit 0
echo "y" | /root/qos.sh

And click Save
## UPDATES ##
In newer version of script.. classify implementation via ipset's...you need the packages..
ipset
kmod-ipt-ipset
kmod-sched-ipset
iptables-mod-ipopt
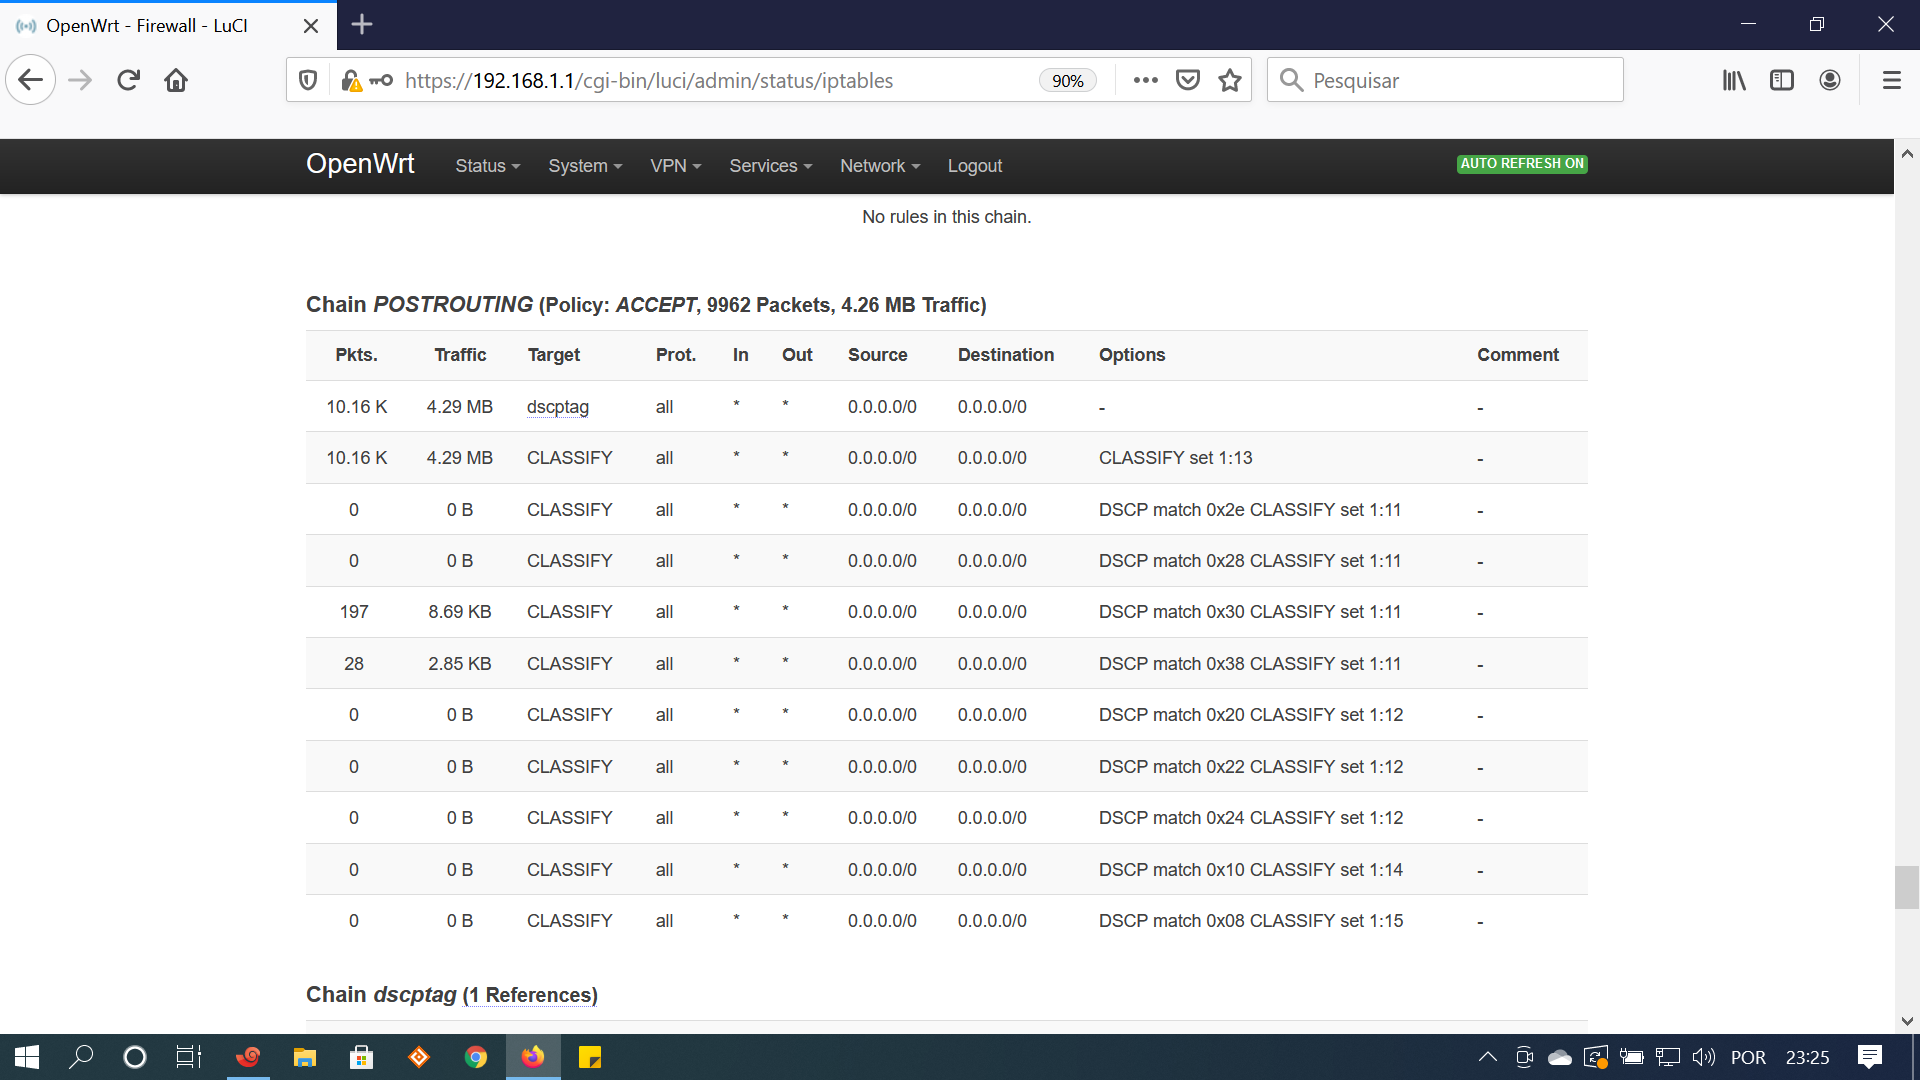
And needs to configure these section's
for ip4 in 192.168.1.111 192.168.1.222; do
    ipset add realtimeset4 "$ip4"
done

for ip6 in fd01:0101::1 fd01:0101::2 ; do
    ipset add realtimeset6 "$ip6"
done
Replace ip's of example 192.168.1.111 192.168.1.222 to your consoles..will
get UDP MAX priority.
The same for IPv6 ip's fd01:0101::1 fd01:0101::2
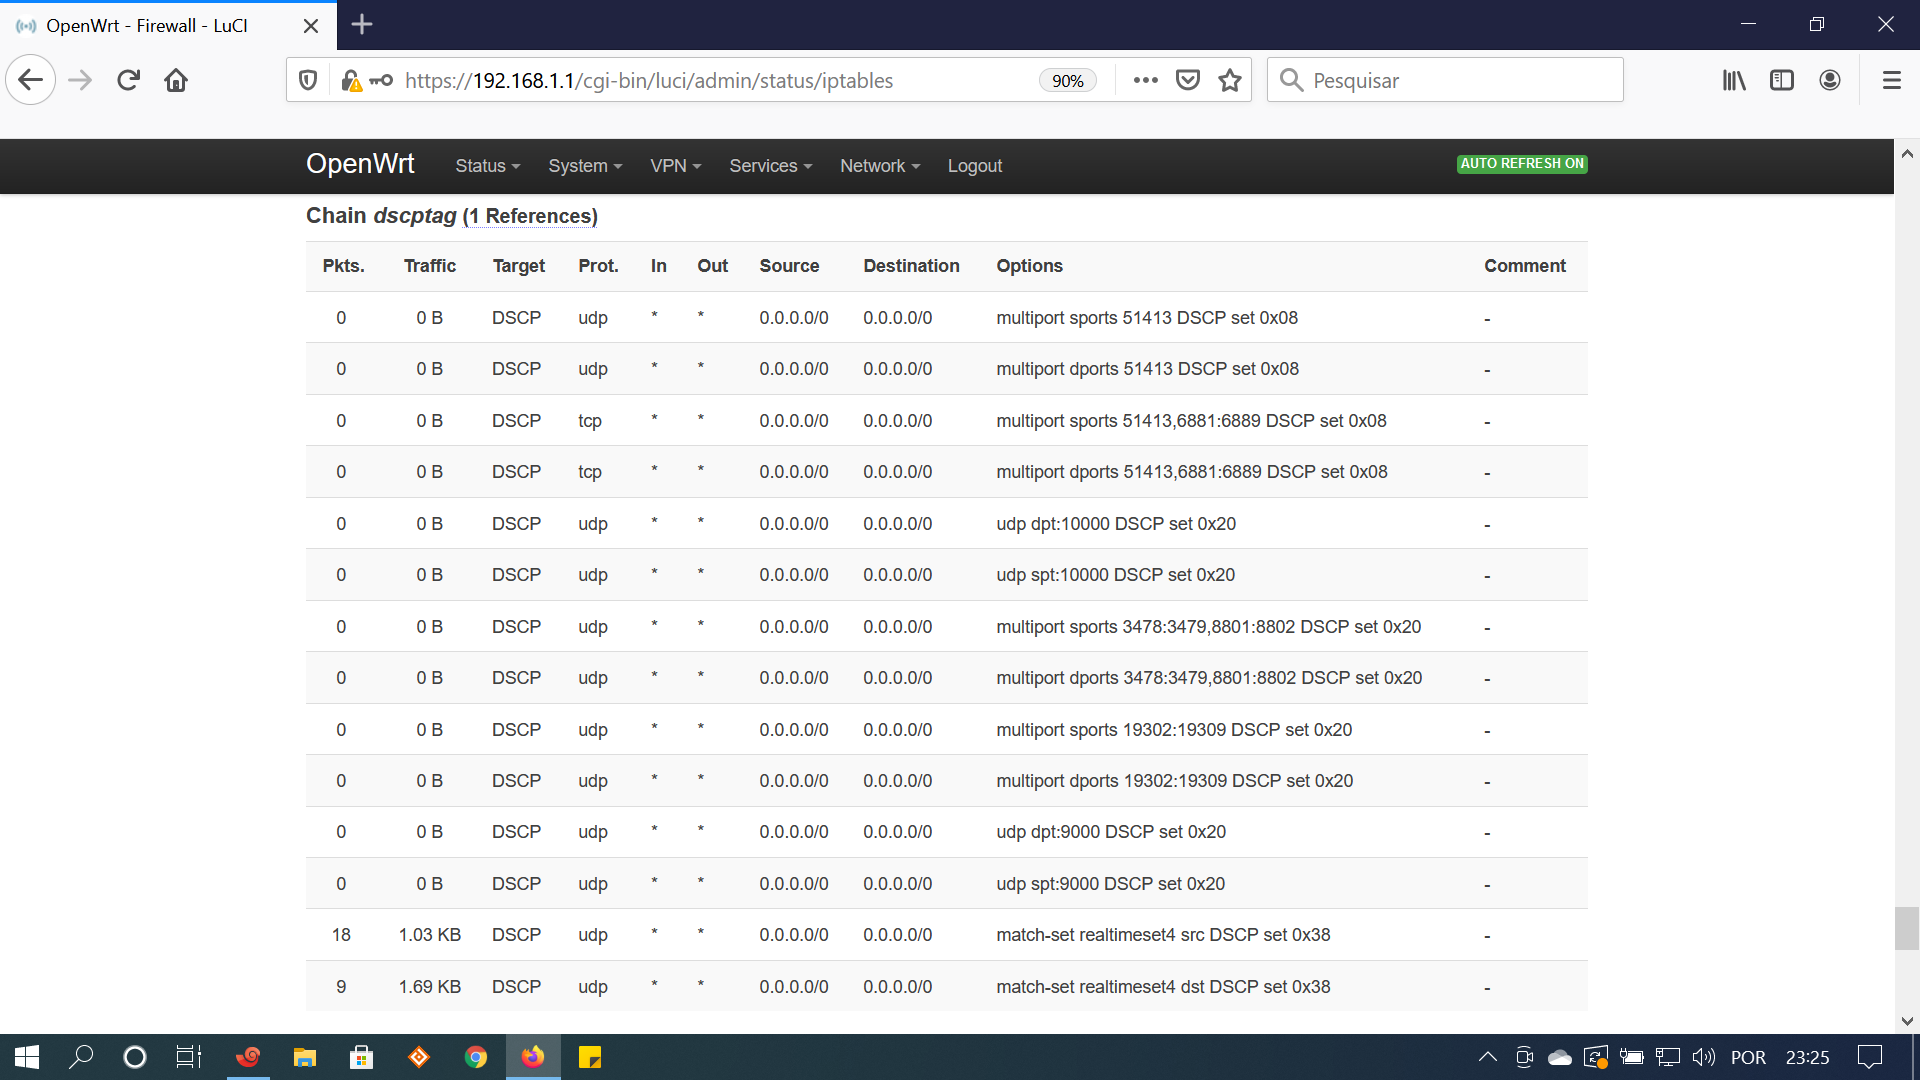
In this section put ports or range of ports that you want to be in BULK priority.
UDPBULKPT="51413"
TCPBULKPT="51413,6881:6889"
If your ISP sends packets already tagged with DSCP values or you see that traffic falls in etc Bulk traffic with no reason..then probably packets already tagged with DSCP values and script "put" them in a class.So set the values following to "yes"..this way script will "clear" DSCP values of packets and mark them again with DSCP to fall in the classes you want.
WASHDSCPUP="yes"
WASHDSCPDOWN="yes"
That's all.
LINK for the script