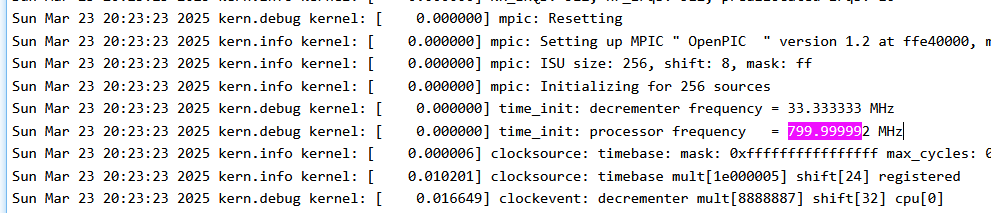
there weren't many commands involved, I just used screen for the serial communication and cat /proc/cpuinfo on openwrt to view the frequency. Finally, for the network speed tests i used iperf3 -s and iperf3 -c [IP of Server] on ther Server and client respectively.
To perform the overclock, you have to solder the resistors on the right of the cpu socket (I can give you the numbers later) to the other position, left (closer to cpu) is 0, right (further from cpu) is 1, to get the OC you want, you can also find the values in the PDFs that I linked.
The steps from the first post are still valid, this is technically completely independent of OpenWrt (although I've only tested it with that)
The resistors are really small, so take your time and be careful when soldering. It may be enough to remove the resistors, but I don't know how stable that will run. They are also very easy to lose!
If you really don't want to break your RED15, I'd recommend not overcloking it, there's always some risk of breaking it.
For the procedure:
Power off your RED15(w)
Disassemble your RED15(w)
move the resistors to the positions for the overclock that you want,
for 800MHz:
move the 3rd and 4th (from the bottom of the cluster in the picture, they should be on the left (0) position as in the picture) resistor to the right (1) positions.
reassemble your RED15(w)
boot device
fun!
I do not take any responsibility for broken Devices.
Oh, so you have to remove the CPU?
In that case, I'm not going to do that.
For one thing, I don't have the right tools and for another, I don't want to break the device.
I had hoped there was a software-based way by now.
no, I just removed the CPU of one of the RED15s that I had to find the traces.
You only have to solder 2 Resistors to get 800MHz
specifically, this is what it looks like "stock" (apart from the desoldered CPU)
The Resistors marked in Red are on the left side for 533MHz, desolder them and resolder them to the right positions (as the one above them) for 800MHz.
I am experiencing some issues with the install guide.
I have 6 RED 15w, of which I only tried 3 so far.
All of them end up boot looping on these errors:
[ 0.795623] /dev/root: Can't open blockdev
[ 0.799767] VF: Cannot open root device "(null)" or unknown-block(0,0): error c - not syncing: VFS: Unable to mount root fs on unknown-block(01 Comm: swapper Not tainted 5.15.167 #0
Everything else in the guide worked fine, except i had to change the LAN subnet while live booted from TFTP, because I already use the 192.168.1.1 subnet as my main LAN. Otherwise I couldn't download the upgrade file.
A small update:
As pointed out by JonLit, the version 23.05.5 does not work (hopefully yet?).
It just ends up boot-looping with previously mentioned errors.
Versions 24.10.0-rc1 and rc7 also do not work (I only tested those two), both showing the following error, even when live booting via TFTP and when sysupgrading:
ERROR: new format image overwritten - must RESET the board to recover
Also, as a small addition to the guide, it is also possible to sysupgrade either from GUI, or from a local file, uploaded via SCP for example.
This is useful, if you are connecting the WAN interface to a 192.168.1.0/24 LAN, since the internet connection will not work because of the overlapping subnets.
This guide was excellent - I've not got my previously totally useless RED15W running openwrt 23.05. It is, as people have mentioned, not the fastest unit in the world. iperf3 between servers on gigabit LAN I get about 700-800Mbps.
I set up a wireguard interface on it to my main firewall and that runs at about 29Mbps, CPU at 100%. Not quite good enough to stream 4k video, irritatingly.
Next up - the CPU 'overclock'! @JonLit amazing job you did figuring that out.