Someone needs to modify the instruction for Linksys EA8500 at https://openwrt.org/toh/linksys/ea8500. I wrote it here to help others save their time not to make mistakes following the instructions.
I got a Linksys EA8500 (likely US version) with firmware 1.1.4.168206
I followed the instruction here:
https://openwrt.org/toh/linksys/ea8500
The instructions are as followings:
Warning, works only with non-US version and US version firmware older than 1.1.4
Warning, before installing LEDE/OpenWrt the first time:
.install (at least) firmware 1.1.4.169978 twice to make sure the primary and the secondary partitions have a compatible format
.some users have reported that 1.1.4 versions do not boot, so installing a 1.1.3* firmware may be needed*
.if it doesn't work still, use TFTP method below
At first, by reading this, I understand that it would be a requirement to go up to the firmware at least version 1.1.4.169978 in order to flash the OpenWrt. My Linksys EA8500's firmware current version is 1.1.4.168206.
However, after flashing this firmware, it is locked out, unable to downgrade to any version, nor flash the OpenWrt 22.03, or 23.05.
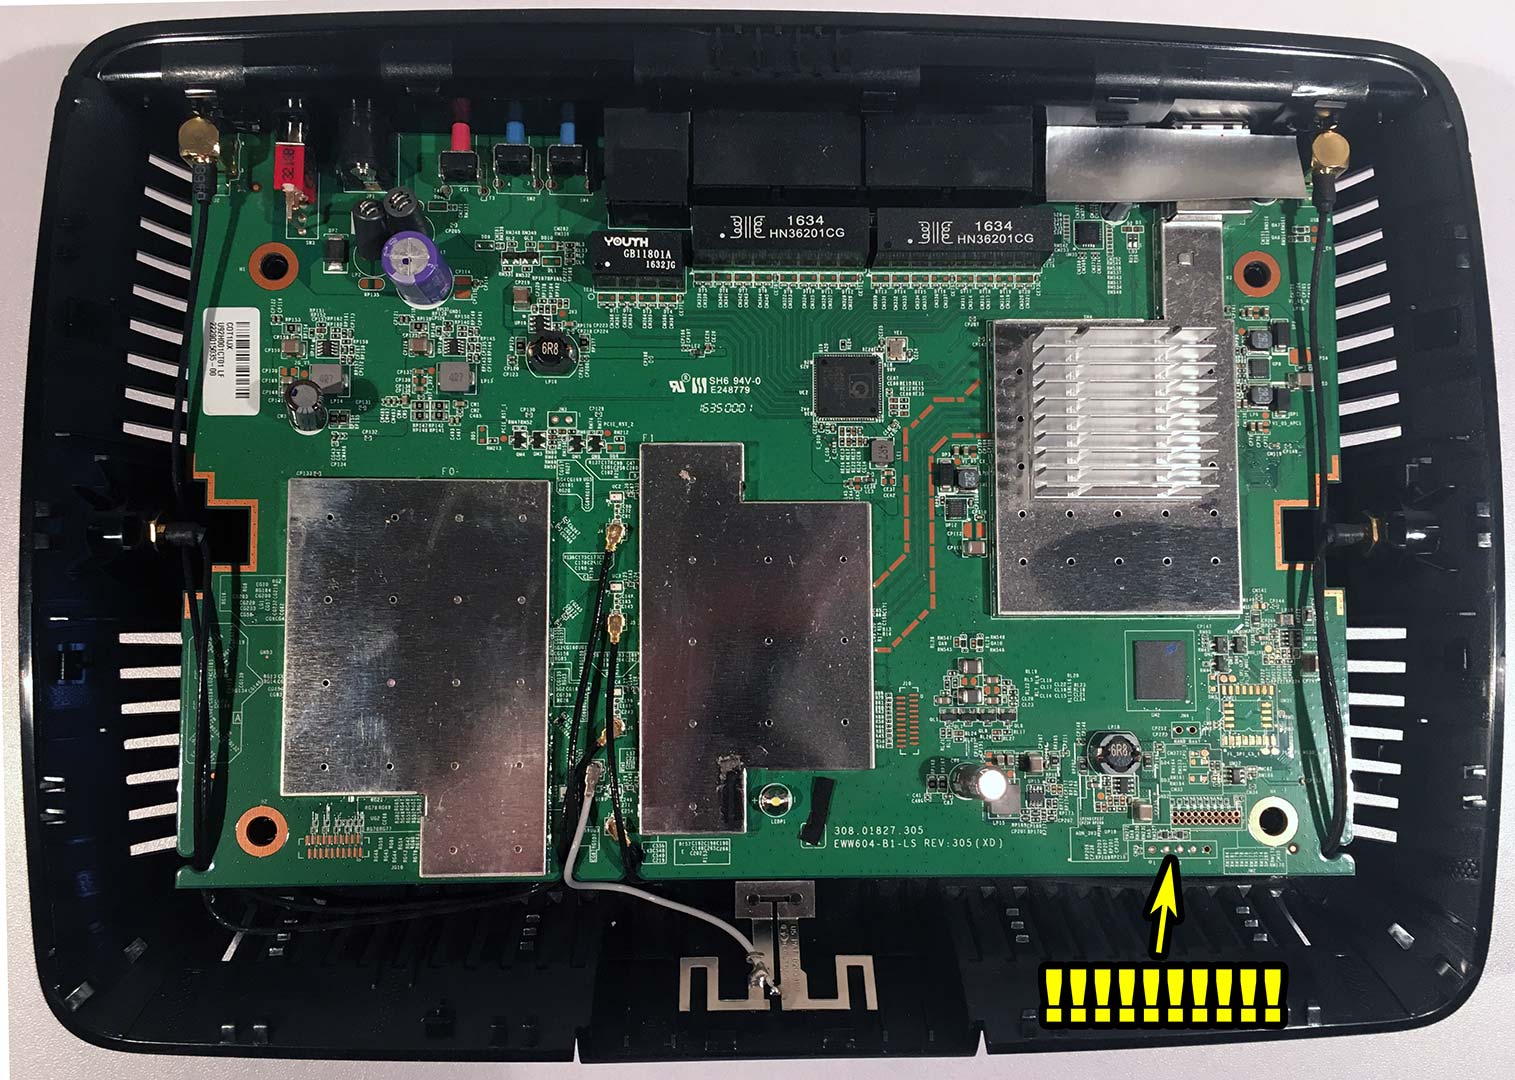
I almost get the USB to TTL cable so that I can do the TFTP method.
I remembered that I can switch another/alternative partition by doing the power cycle sequence as instructions in here:
Step 1:
Power OFF the router with the Power Switch.
Step 2:
Power ON the router and the Power light will start blinking. As soon as it turns OFF (for about 2 seconds), power OFF the router.
Step 3:
Repeat Step 2 twice. << I did 3 times in total.
Step 4:
Turn the power back ON and wait for the Power light to turn solid. It should now be booted using its alternate firmware partition.
With this sequence, it did switch to the alternative firmware partition and booted to Linksys OEM GUI with older firmware 1.1.4.168206. Phew!!
Now with this version, in the OEM GUI, I flashed directly to openwrt-22.03.5-ipq40xx-generic-linksys_ea8300-squashfs-factory.bin >> IT WORKS: rebooted into OpenWrt Luci interface.