Hi,
After endless searching, reading, and trying, there must be a difference in what is all suggested and what I have in my config.
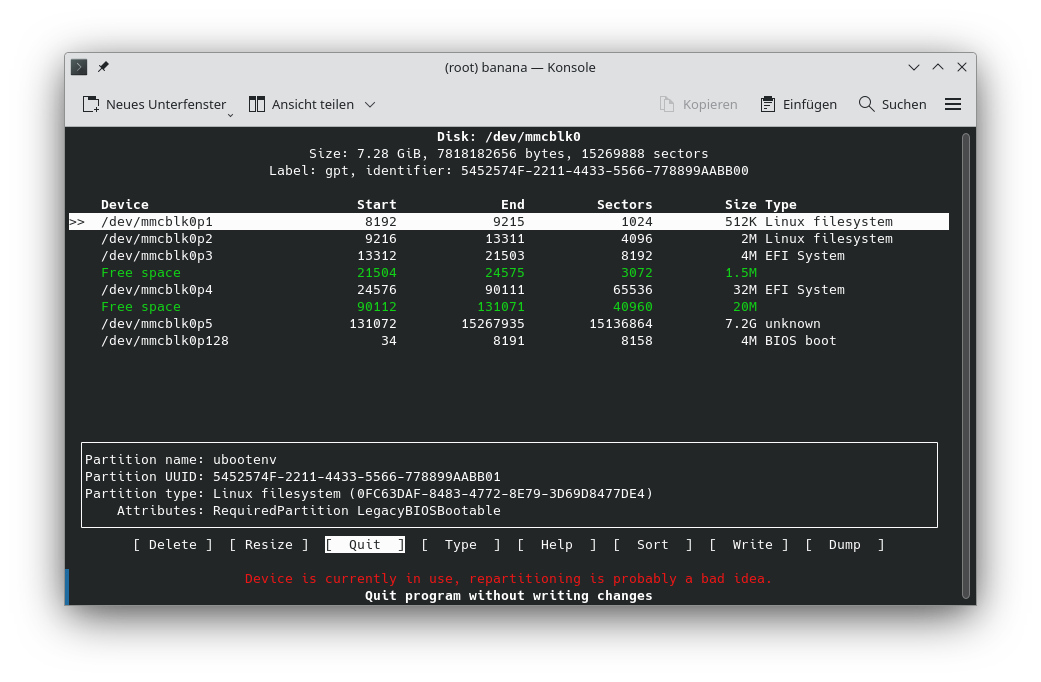
This is the parted layout:
(parted) print
Model: MMC 008GB0 (sd/mmc)
Disk /dev/mmcblk0: 7818MB
Sector size (logical/physical): 512B/512B
Partition Table: gpt
Disk Flags:

Number  Start   End     Size    File system  Name        Flags
128     17.4kB  4194kB  4177kB                           bios_grub
 1      4194kB  4719kB  524kB                ubootenv    hidden, legacy_boot
 2      4719kB  6816kB  2097kB               factory     hidden
 3      6816kB  12.6MB  5767kB               fip         boot, hidden, esp
 4      12.6MB  67.1MB  54.5MB               recovery    boot, hidden, esp
 5      67.1MB  805MB   738MB                production
As you can see, enough room for partition 5 what seems to be addressed (I never could found out why) as mmcblk0p66 in resize.f2fs.
resize.f2fs gives the following ouput:
root@router:/# resize.f2fs /dev/mmcblk0p66
Info: MKFS version
  "Linux version 5.15.150 (builder@buildhost) (aarch64-openwrt-linux-musl-gcc (OpenWrt GCC 12.3.0 r23809-234f1a2efa) 12.3.0, GNU ld (GNU Binutils) 2.40.0) #0 SMP Fri Mar 22 22:09:42 2024"
Info: FSCK version
  from "Linux version 5.15.150 (builder@buildhost) (aarch64-openwrt-linux-musl-gcc (OpenWrt GCC 12.3.0 r23809-234f1a2efa) 12.3.0, GNU ld (GNU Binutils) 2.40.0) #0 SMP Fri Mar 22 22:09:42 2024"
    to "Linux version 5.15.167 (builder@buildhost) (aarch64-openwrt-linux-musl-gcc (OpenWrt GCC 12.3.0 r24106-10cc5fcd00) 12.3.0, GNU ld (GNU Binutils) 2.40.0) #0 SMP Mon Sep 23 12:34:46 2024"
Info: superblock features = 0 :
Info: superblock encrypt level = 0, salt = 00000000000000000000000000000000
Info: Segments per section = 1
Info: Sections per zone = 1
Info: total FS sectors = 191848 (93 MB)
Info: CKPT version = 5ccce354
[FIX] (move_one_curseg_info:2921)  --> Move curseg[0] 3 -> 17 after 1000

[FIX] (move_one_curseg_info:2921)  --> Move curseg[1] 1a -> 1b after 1000

[ASSERT] (move_one_curseg_info:2904) ret == 0
And the it stops, no mather how often I reboot, cry, start being angry, I just don´t get it.
In all examples I have seen, this should be the trick, but this just doesn't work. I did mount en umount, tried a upgrade as suggested in one of the topics, but still.
Strange observation: autopart installs but with uci errors (maybe related).
I am now in the nand image on 23.05.5, tried it also on 23.05.3.
Please, who can understand what is going wrong here.
Thanks for all your thoughts!