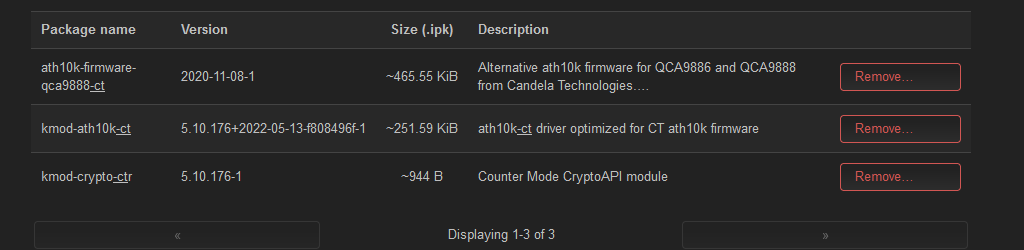
The third one obviously has nothing to do with the ath10k drivers.
And I doubt anyone in here knows anything about driver development. I sure don't.
You should probably ask directly about ath10k driver development or find the appropriate post about it. Many devices use those, so there should be some discussion out there.
As for disassembly, I think you are on your own, but for v1 and v2 it was not rocket science, the screws were under the rubber feet on the bottom of the device. I wrote about this a while ago. OpenWrt support for TP-Link Deco M4R - #44 by pixelthurst
I don't have the device myself. @2pferdebert made the photos and got that serial console output. But he didn't reply back after November 2021, so I'm guessing he won't come back to work on this any further.
You can see in my guide for the V2 what kind of jumper cables I used. Don't use the ones where the pin sticks out. You don't want to accidentally make contact with anything on the board later on because you're going to leave those cables on.
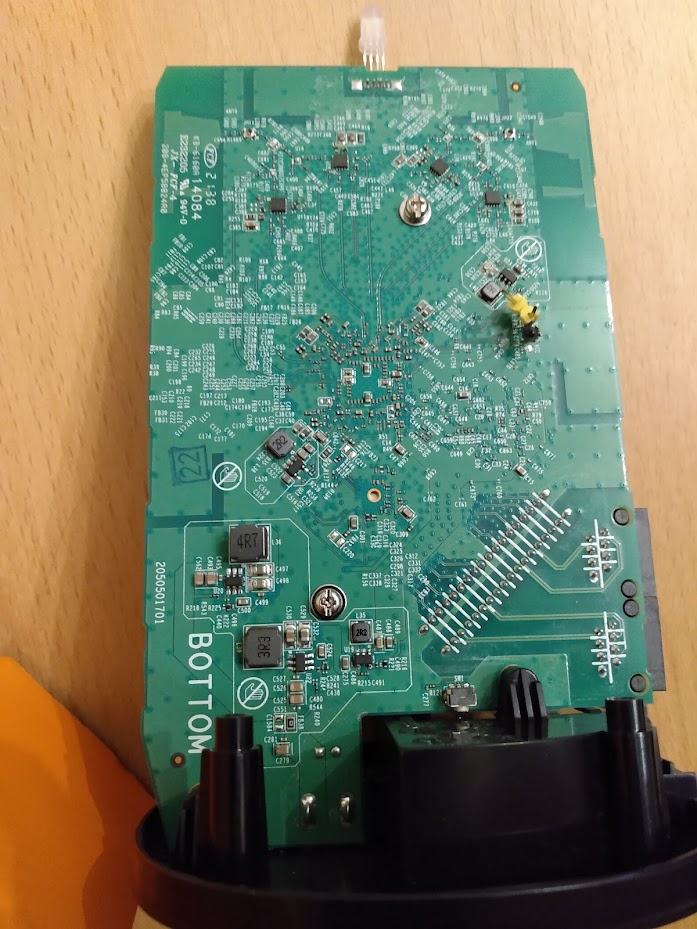
In the photo of the underside of the V3 you can see the solder points you need to attach them to on the right side. We need cables for TXD, RXD and GND. Don't attach a cable to VCC because attaching that to the usb-2-ttl can lead to you damaging your PC.
I can only guess what the voltages are that the V3 is working at. The V2 is working at 3.3V and I'm guessing the V3 is the same. But you should verify that with a multimeter. Just test the voltage between VCC and GND.
If you've got Windows on your computer then I suggest using Putty to connect to the Deco via the usb adapter. If you've got another OS then you need to find yourself a program for serial connections.
You might need to play around with the baudrate if the output is garbage. Not even all TP-Link devices use the same for their serial output.
Getting into the command prompt of the bootloader is done by repeatedly typing "tpl".
And once all of that is done then we need to see if someone from the Deco M5 developers can cook up a ramfs test firmware for us.
To test, you would take the source code from Tomer, adjust the .dts for the M5 to match your device's flash partition layout, compile that and try the resulting init-ramfs image on your device by loading it into RAM from the bootloader and starting it from there. That way you can test firmwares without having to flash and potentially brick anything.
But I have zero experience with the ipq4019 SoC, so I'm hoping that you either know your way around this anyway or that @oklona or @Tomer can help out.
Hello! Yes, I was working on it, but ran out of time. I started with the firmware-utils' tplinksafeloader, which needs to be updated for the M4R as well. Another forum member (@undisputed-seraphim) added the necessary changes for the M5 after I had the main code of tplink-safeloader updated to cater for different partition names. So, in order for this to work for M4R as well, all you need to do, is to create a section for M4R similar to what was added for the M5 here: https://github.com/openwrt/firmware-utils/pull/7/files
After that, there is only a few files that will need to be changed from the latest sources to make it work. Mostly you just need to find all references to Deco-M5 (could be different spellings, I don't remember), and create similar for M4R. Make sure to include the "R", since regular M4 is a completely different device. I don't own an M4R, so I am unfortunately unable to discuss much beyond simple theory...
Isn't the tplink-safeloader only needed if you want to return to an oem firmware by flashing it within openwrt, so the oem firmware needs to be formed so that it works like a sysupgrade image?
Because we don't really need that with the M4R since it has a recovery webpage straight from the bootloader, that flashes oem firmwares.
And @naf wrote a nice little exploit that I hope works on the V3 too. With that you can load via tftp and boot any openwrt init-ramfs firmware you want, so we don't even need any factory firmware. And once the ramfs firmware is booted, you can simply flash the sysupgrade firmware to make it permanent.
So I think that for the M4R we can ignore the tplink-safeloader util. Or maybe someone knows why we still need it?
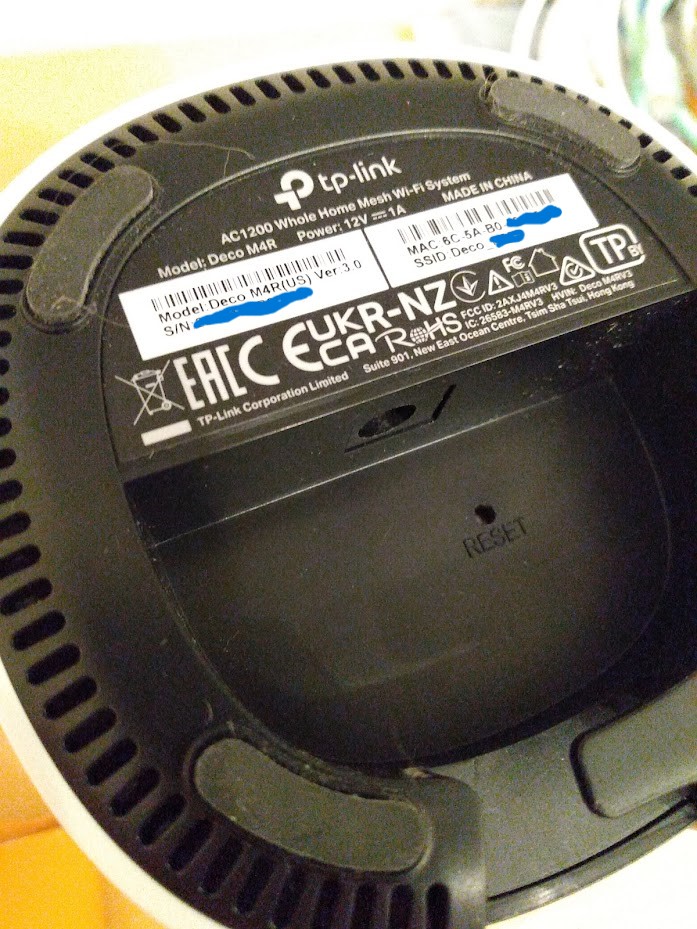
And I don't think there is a difference between M4R and M4. The box my devices came in says "M4", but the bottom labels on the devices say "M4R".
@murraydr44 if you hold down the reset button while the device boots, do you get the recovery web page?
Once you've done that, to test on your V3 you likely only need to change the partitions in the dts of the M5 and then try the resulting init-ramfs firmware via the bootloader.
C:\Windows\System32>ipconfig /renew

Windows IP Configuration

No operation can be performed on Wi-Fi while it has its media disconnected.
No operation can be performed on Local Area Connection* 1 while it has its media disconnected.
No operation can be performed on Local Area Connection* 2 while it has its media disconnected.
Should I set a local IP to see the webpage, like 192.168.1.2 ?
Firmware Upgrade
Choose the firmware file from your local disk and click Upgrade.

No file chosen
 0%
Tips:
Do NOT power off your Decos during the upgrade.
Make sure the firmware file you choose is correct.