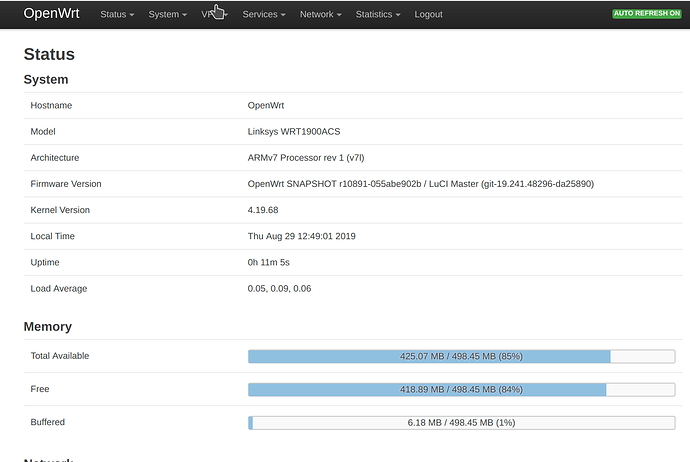
 OpenWrt SNAPSHOT, r10863-e1dcfe02b2
 -----------------------------------------------------
# sysupgrade -v openwrt-snapshot-r10890-7d542dc804-mvebu-cortexa9-linksys_wrt1900acs-squashfs-sysupgrade.bin
Cannot detect eMMC flash, aborting..
it is something wrong with commit: "mvebu: uDPU: add sysupgrade support"
No issues seen on a mamba or rango
I can confirm I have seen this same behavior on WRT3200ACM (when attempting to upgrade from 5cc942a80eff3b41df164d5e875befa4fc12b183). To upgrade, I ended up booting into to my old partition and then installing. My old partition was from early July.
This demonstrates that your device boots, which is fine and not the underlying issue. Can you try upgrading with sysupgrade now that you are booted into this partition? You can even sysupgrade to the same image, but my bet is it will throw an error.
Vladimir Vid fixed it.
to sysupgrade your affected snapshot build:
git pull, build a new snapshot,
then scp target/linux/mvebu/base-files/lib/upgrade/uDPU.sh to your box: /lib/upgrade/
then sysupgrade from there, it will work as usual.
Simpler would likely be to fix the live router by:
- delete /lib/upgrade/uDPU.sh
(if you are using a normal mvebu router and do not need uDPU specific stuff.) - edit /lib/upgrade/uDPU.sh and delete the few "non-function-contained" lines in the beginning of the file that cause the erroneous sysupgrade breakage due to eMMC detection. Possibly also the function names should be changes as in the patch, but I am not quite sure.
See the actual fix patch for more details: https://git.openwrt.org/?p=openwrt/openwrt.git;a=commitdiff;h=bec2df9a661454f4289e02954f2c083902c45ee9;hp=055abe902bc457c4cd6ac8a2c797f020d8a7ef01
EDIT:
I just tested with my WRT3200ACM: sysupgrading from a faulty firmware worked ok after removing /lib/upgrade/uDPU.sh with
rm /lib/upgrade/uDPU.sh
If you got caught out by this, it would seem the simplest thing to do is to go back to the other partition, by whatever method you utilise, and flash over the borked image.
This topic was automatically closed 10 days after the last reply. New replies are no longer allowed.
