Unfortunately i've wasted a couple hours for nothing since the software i was using to make screenshots and insert text annotations failed while exporting and corrupted the files in the proces... I'm pretty tired and frustrated.
So for now I will only post the minimal on how to flash the Zyxel no-brand firmware, should work for everyone with access to uart.
Reverting to stock layout/firmware
We can not flash the firmware while running ubootmod firmware.
First thing we have to do is boot from stock initramfs kernel Download link
In my case the file is called "openwrt-24.10.0-mediatek-filogic-zyxel_ex5601-t0-stock-initramfs-kernel.bin"
If you've got a working router on ubootmod OpenWrt firmware
Situation 1
You have to restart the router and abort the autoboot,
and in the bootmenu press 0 or choose exit to open the U-Boot console.
If you can't prevent the autoboot in time, then enter these 2 commands in your normal environment(openwrt ubootmod?)
fw_setenv bootdelay 30
fw_setenv bootmenu_delay 30
If above is not possible or you router is a brick or anything else
Situation 2
then use mtk_uartboot ( make sure your TFTP server's not feeding the ubootmod recovery file. )
\
mtk_uartboot -p bl2-mt7986-ddr4-ram.bin --aarch64 -f openwrt-24.10.0-mediatek-filogic-zyxel_ex5601-t0-ubootmod-bl31-uboot.fip

h
it CTRL + C to stop it from trying to boot the recovery file and open the U-Boot console.
From here we have to boot the system with stock initramfs kernel.
There are probably more than a dozen ways on how to boot it. I present to you 2.
Boot by USB
USB-drive (FAT-formatted, you don't have to get rid of all files.)
- Find any USB storage drive that has more than 10mb capacity.
- Format it as FAT, FAT16, FAT32 or exFAT if it's not already.
- move "openwrt-24.10.0-mediatek-filogic-zyxel_ex5601-t0-stock-initramfs-kernel.bin" into this drive in the root folder so we can find it easily if you have more files there.
- plug it in your router
5.in the uboot console, enter these commands.
usb start
This starts the USB service, you should see that it detects a usb storage device.
fatls usb 0:1 (if your usb storage device has more partitions, try fatls usb 0:2 if u cant find ur file)
The usb drive gets device id usb 0:1 , by sending the above command we can see all the files/folders in the usb drive.
fatload usb 0:1 0x46000000 openwrt-24.10.0-mediatek-filogic-zyxel_ex5601-t0-stock-initramfs-kernel.bin
This will load that file that's on usb 0:1 in the memory at 0x46000000.
bootm
The kernel will boot without issues since we've loaded the correct file at the correct address.
Boot by TFTP
Running an TFTP server
- Make sure your TFTP server will not give any requested files to the router. If you've used TFTP to transfer files before, then the files may still be in the directory for example ubootmod recovery etc.. etc...
- place openwrt-24.10.0-mediatek-filogic-zyxel_ex5601-t0-stock-initramfs-kernel.bin in the tftp folder
- Turn off your firewall and turn on your server.
- Enter the following commands
tftpboot openwrt-24.10.0-mediatek-filogic-zyxel_ex5601-t0-stock-initramfs-kernel.bin
this will load the kernel into memory at loadaddr so thats 0x46000000
bootm
The system will boot without issues since we've loaded the correct file at the correct address.
Booted openwrt-24.10.0-mediatek-filogic-zyxel_ex5601-t0-stock-initramfs-kernel.bin
if everything worked out as it should, you've succesfully booted OpenWrt into ram with stock layout.
Press enter to activate the console and you will be met by a root shell
Enter the following command to prevent issues later
fw_setenv EngDebugFlag 1
File transfer
Transfer the following files by SCP to /tmp/
bl2
fip
zloader
kmod-mtd-rw_6.6.73.2021.02.28~e8776739-r1_aarch64_cortex-a53.ipk
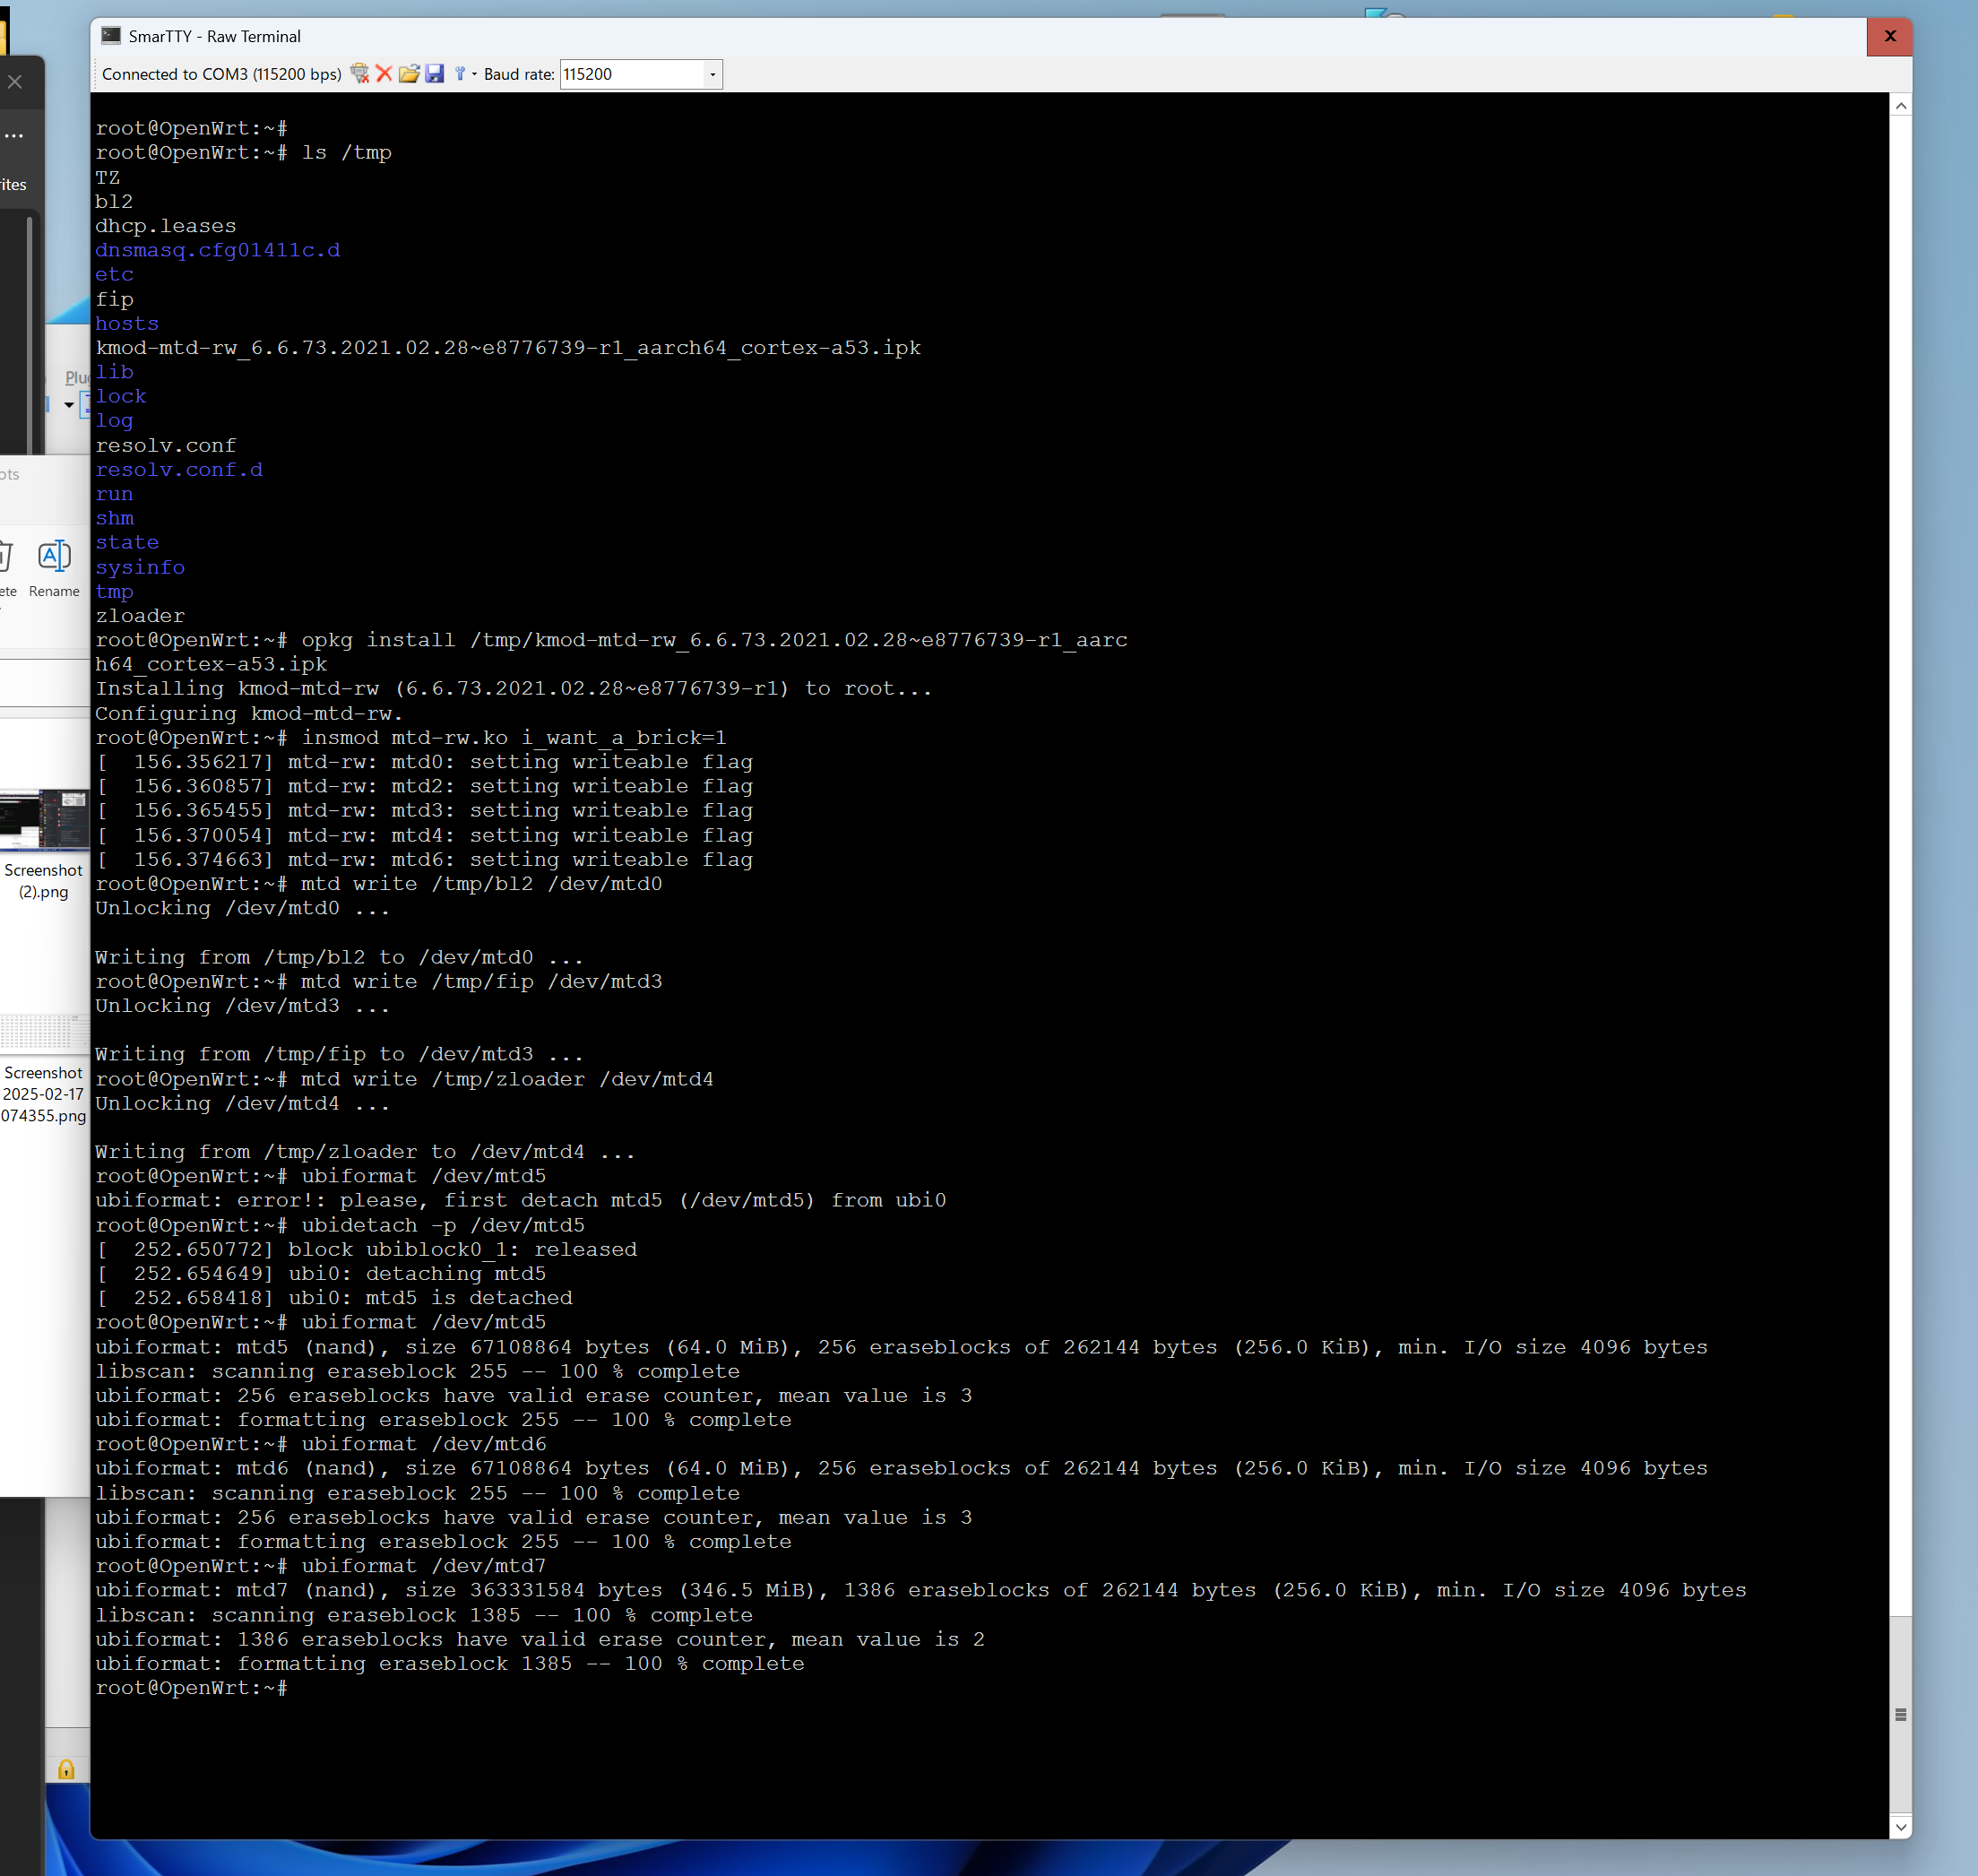
Install and load kmod-mtd-rw
opkg install /tmp/kmod-mtd-rw_6.6.73.2021.02.28~e8776739-r1_aarch64_cortex-a53.ipk
insmod mtd-rw.ko i_want_a_brick=1
Now we flash the bl2,fip and zloader like below
Flashing
mtd write /tmp/bl2 /dev/mtd0
mtd write /tmp/fip /dev/mtd3
mtd write /tmp/zloader /dev/mtd4
Next we do is prepare the next 3 mtd partitions by formatting it as UBI,
You will have to detach mtd5 first, enter the commands below.
ubidetach -p /dev/mtd5
ubiformat /dev/mtd5
ubiformat /dev/mtd6
ubiformat /dev/mtd7
Reboot and ZHAL
Reboot the router by command or power switch and stop the autoboot.
If it asks for a password or pressing any key actually accelerates its autoboot then please recheck the enviroment variable EngDebugFlag. Also there might be something wrong with your mtd1(u-boot-env)
Congrats
If everything went to plan you're in ZHAL prompt now.
Send the following command to retrieve your root/supervisor pass which you will probably want.
ATCK
Save it somewhere if you haven't already because thats your way into tthe root user on ssh and supervisor on the web gui (same pass).
Flashing the firmware
We will flash the firmware from U-Boot.
To enter u-bootconsole send the following command and stop the 2nd autoboot.
ATGU
You're back in ZHAL, don't ask me why this happens.
Send the same command again and you will be in u-boot.
ATGU
Almost made it!

Now you have to decide how you want to flash the firmware.
You can send it with KERMIT, XMODEM etc. etc.
I prefer using TFTP because it's fast.
Make sure "V570ACDZ36C0.bin" is in your TFTP folder waiting to get pulled by OpenWrt.
Enter the following commands
mtkupgrade
We're flashing firmware so choose
2. Firmware
Run image after upgrading?
Y for yes why not
Available load method?
May differ per person.
In my case i used TFTP and my answers are below
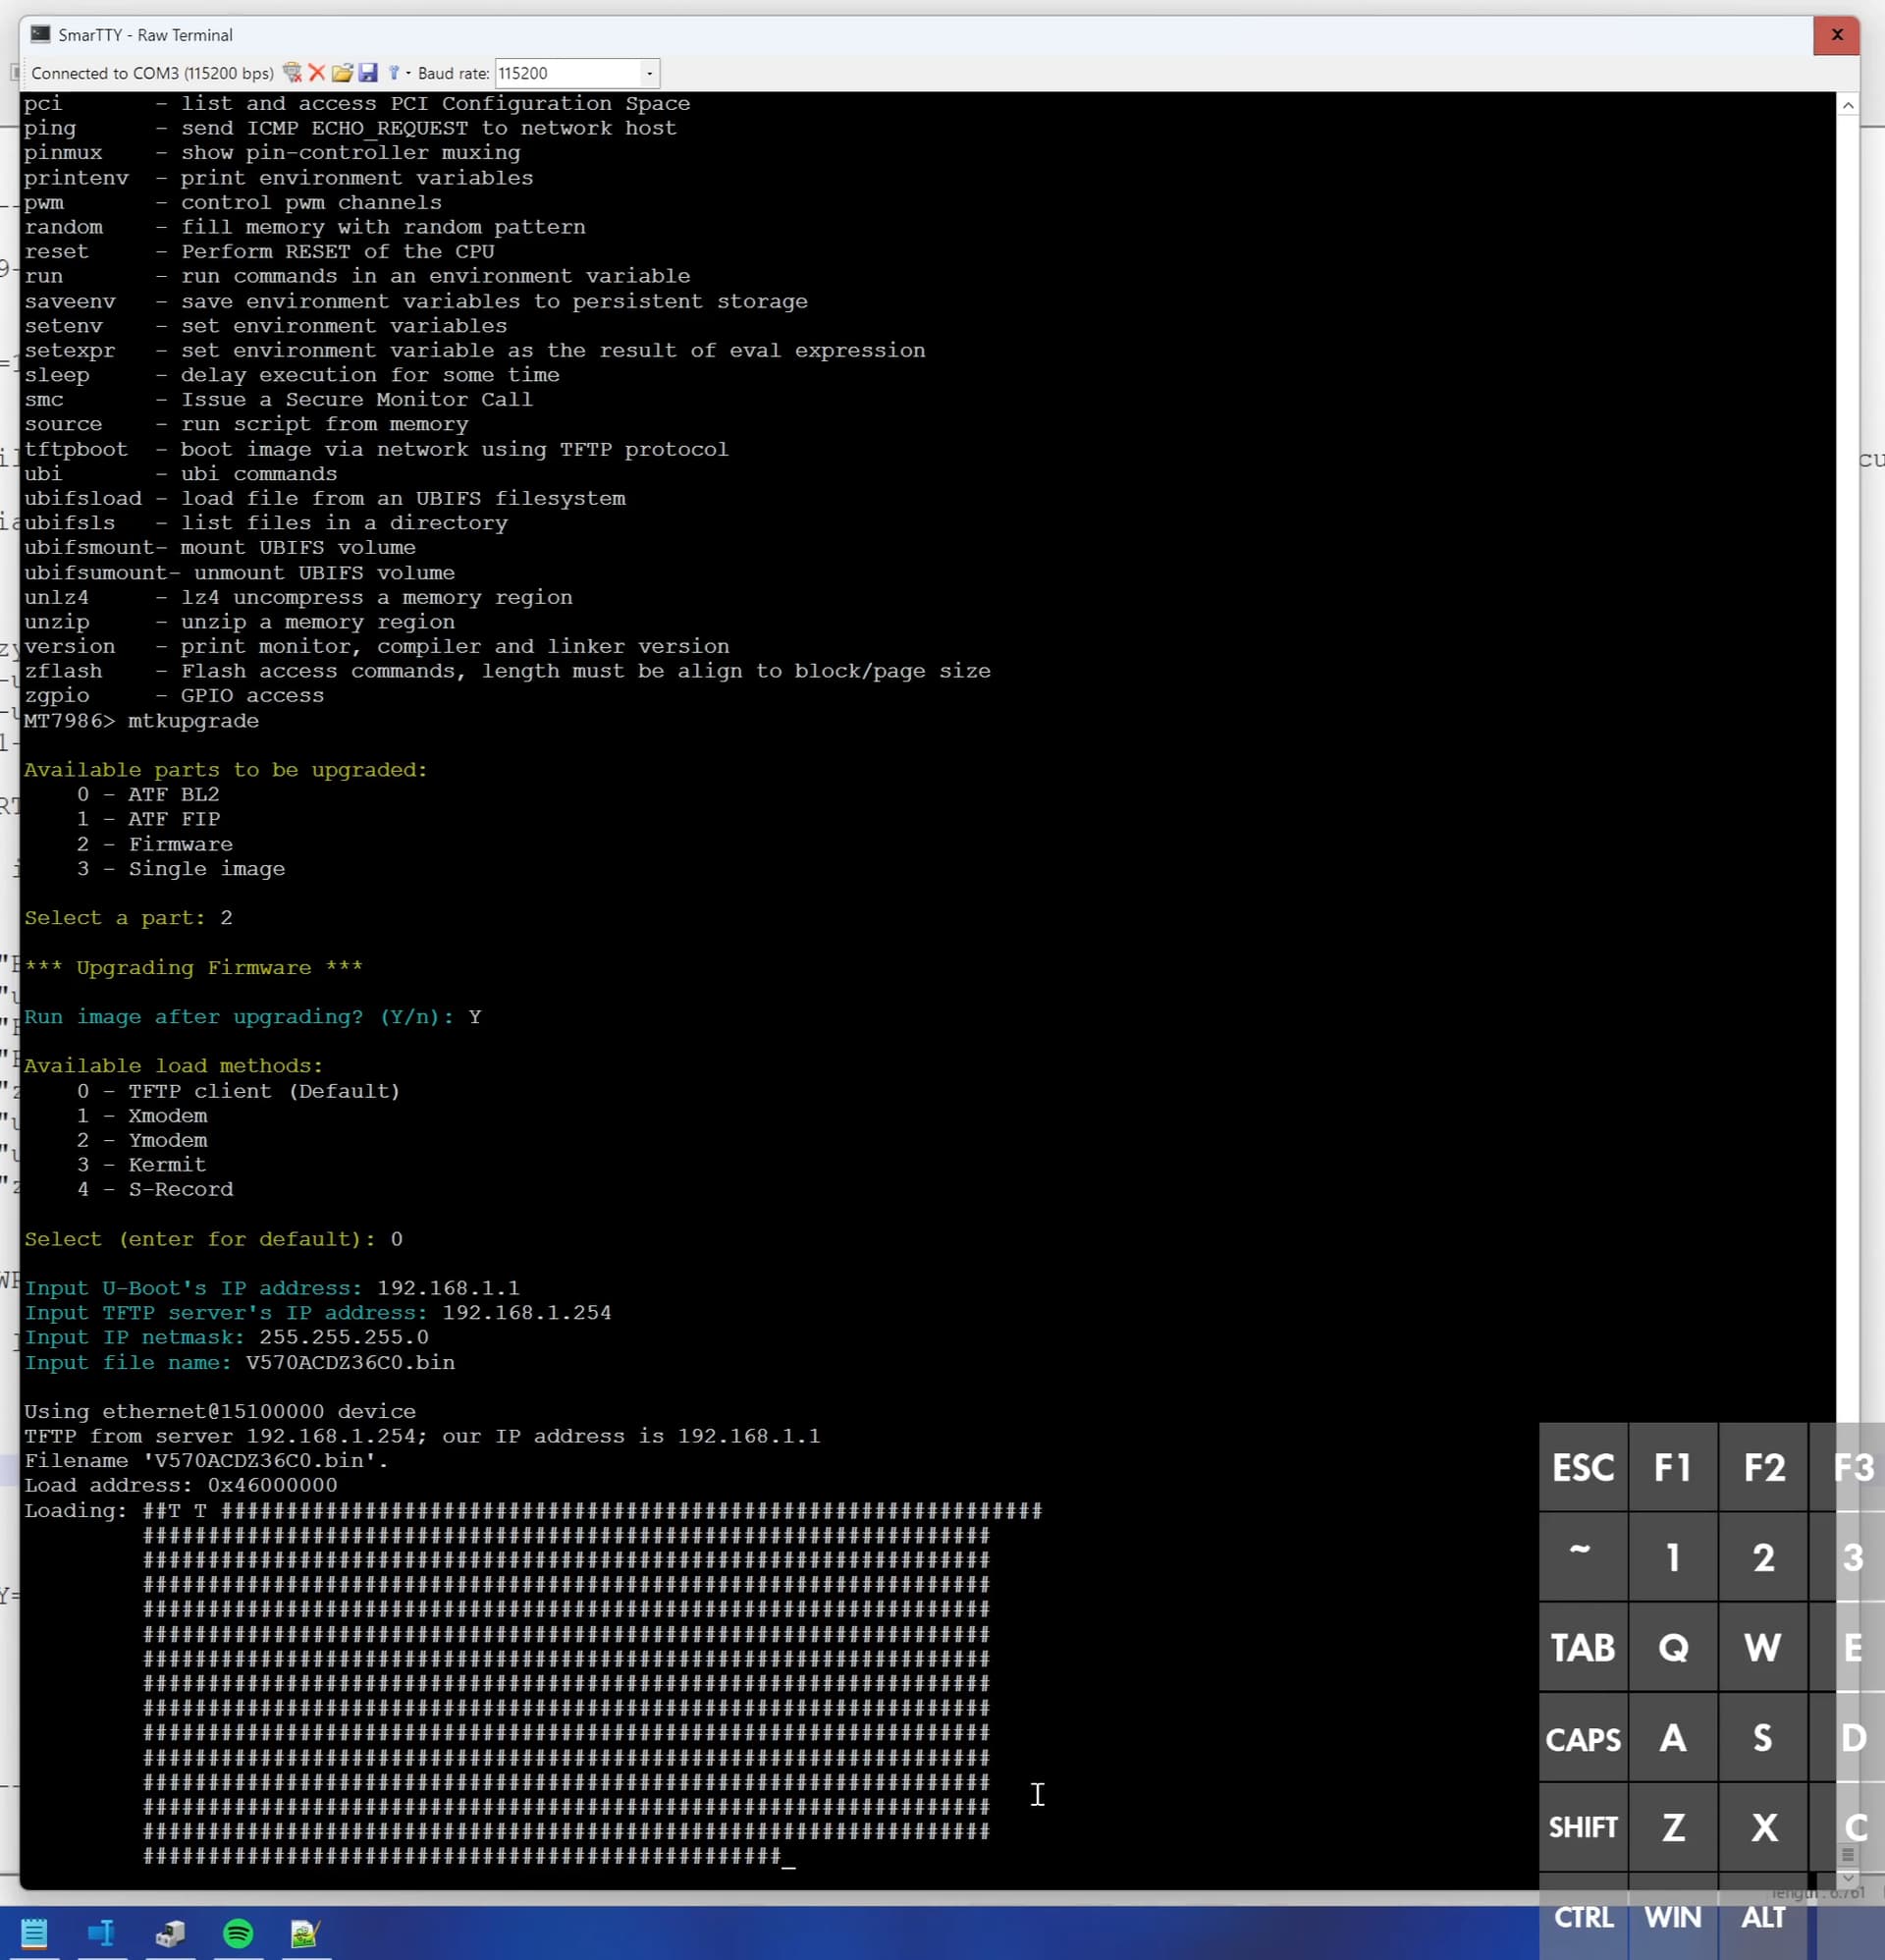
0 - TFTP Client
192.168.1.1
192.168.1.254
255.255.255.0
V570ACDZ36C0.bin
Sigh of relief.
It has flashed the firmware into ubi, note that ubi2 is empty and it will print out a red error for not being able to find anything there. As far as i'm concerned this is not a problem.
Head over to
192.168.1.1
Login username : supervisor
password : the one you've retrieved through ATCK before. (if you can't login then just use the serial terminal to login as root with the same pass or ssh into the device and use "passwd supervisor" to change the pass for the GUI.
Fresh config
Since we've basically flashed this new firmware and didnt have any data left over from before, you don't need to restore factory settings.
If you want to be sure, then do the following
- Go to backup/restore
- open tan ROM-D
- erase ROM-D
- head back to tab backup?
- Reset all settings
Have fun and i'm sorry i was planning to post how to multiboot with 2 different firmware but maybe next time.
Download link for (i think all) files. *mtkuartboot gets flagged as virus cant upload it *
https://drive.google.com/drive/folders/1ziCDMY6mJxNlVGdZrFBjDbB_UHdDRHPS?usp=sharing